
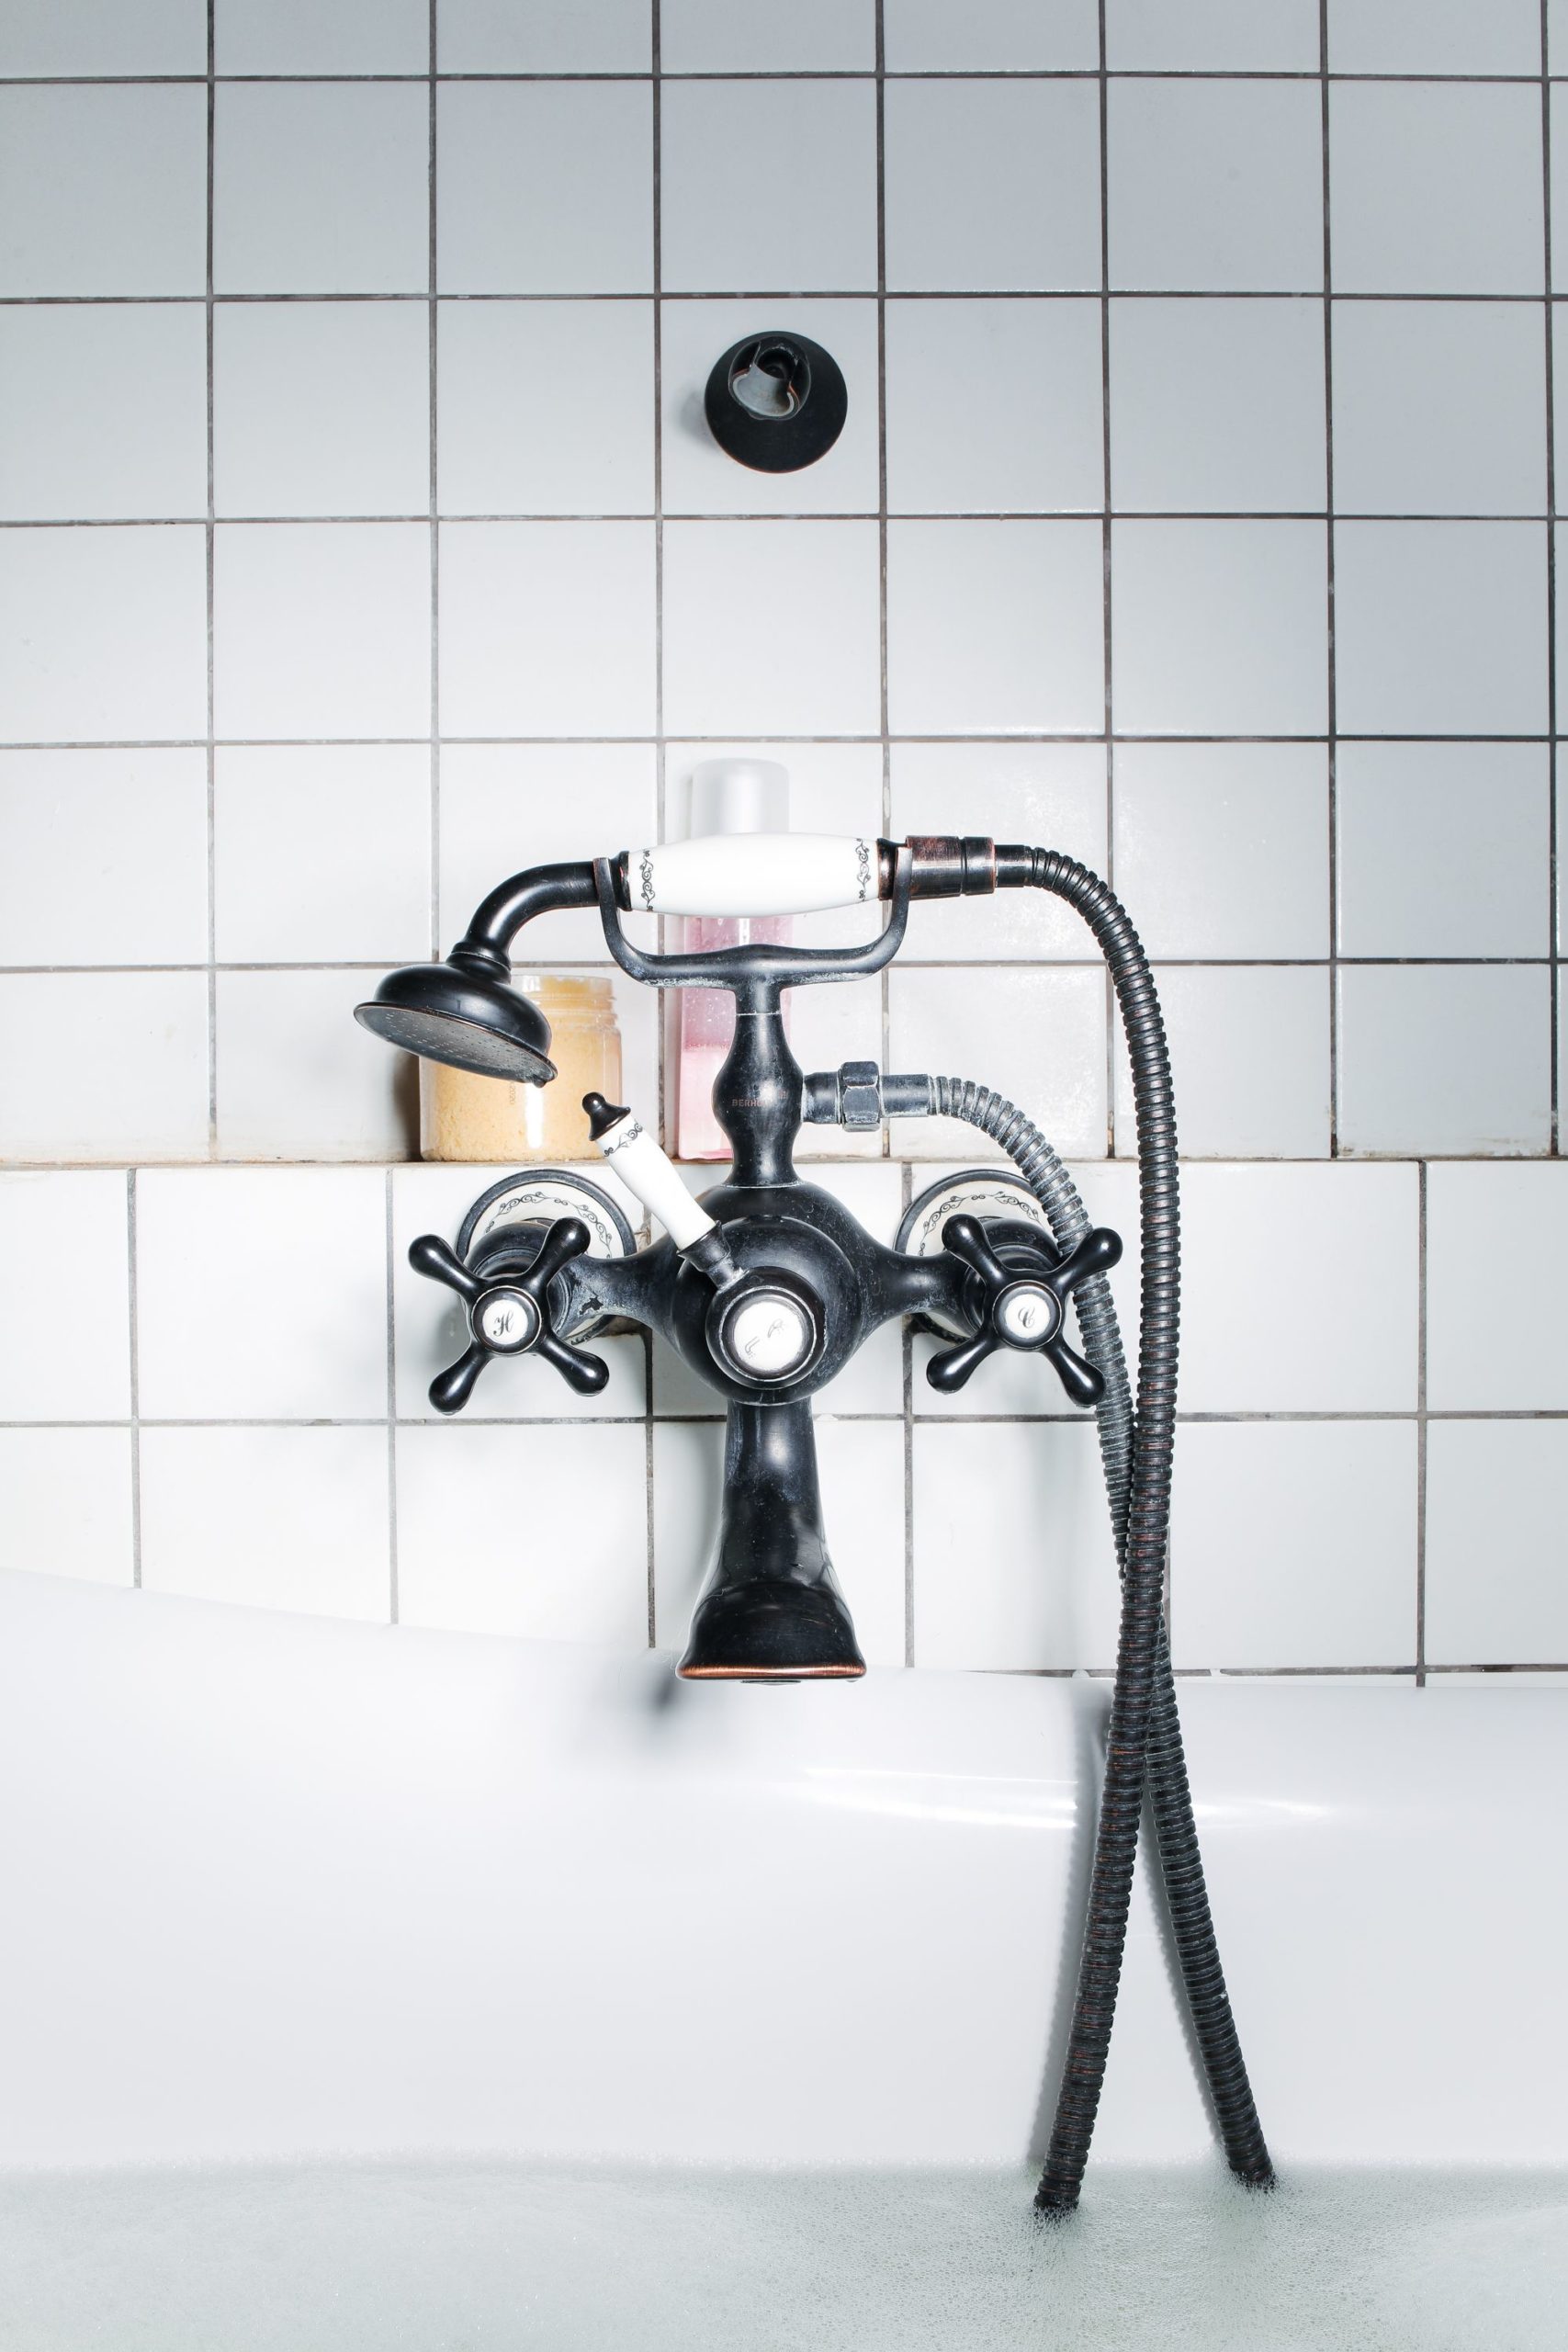
As much as you spray and scrub, mould and mildew still seem to find a way into the bathroom, creeping along grout and caulk. While they pose a health risk (and look plain awful), there are ways to clean them up yourself before calling in the pros.
Use our easy-to-use guide on how to remove mould from bathroom grout, and get your tub/shower/basin sparkling like new again.
How to remove mould from bathroom grout
Mould and grime are lovers of water, humidity and warmth – practically impossible to prevent in bathrooms. Follow these steps, and prevent mould from getting out of control.
Step 1: Air it out
First things first, ventilate. No matter what cleaning material you’re grabbing, it is of utmost importance to ventilate the bathroom before and after cleaning. Without it, you’re not only at risk of inhaling any fumes the cleaning material gives off, but your bathroom surfaces won’t completely dry out – leading to more of the dreaded mould.
Step 2: Daily cleaning really matters
Next, look to your daily cleaning habits for the bathroom: what are you using to clean surfaces? The daily part might sound over-the-top, but we’ve found that a simple daily DIY spray does wonders (yes, that includes no scrubbing). Keeping up with a spray-down after use prevents mould, grime and other nasty bits from building up, and in turn, makes deep-cleaning that much quicker and more effective.
Simply fill a spray bottle with a drop of liquid, mild detergent, a teaspoon of bicarbonate of soda, a few teaspoons of rubbing alcohol, and top it up with plain water. Shake and spray over the shower tiles and drain, the bathtub, and even the basin. Let it sit until the next time you make use of these. A quick rinse is all you’ll need for the bath and basin; the shower will magically rinse most of it itself while the water heats up.
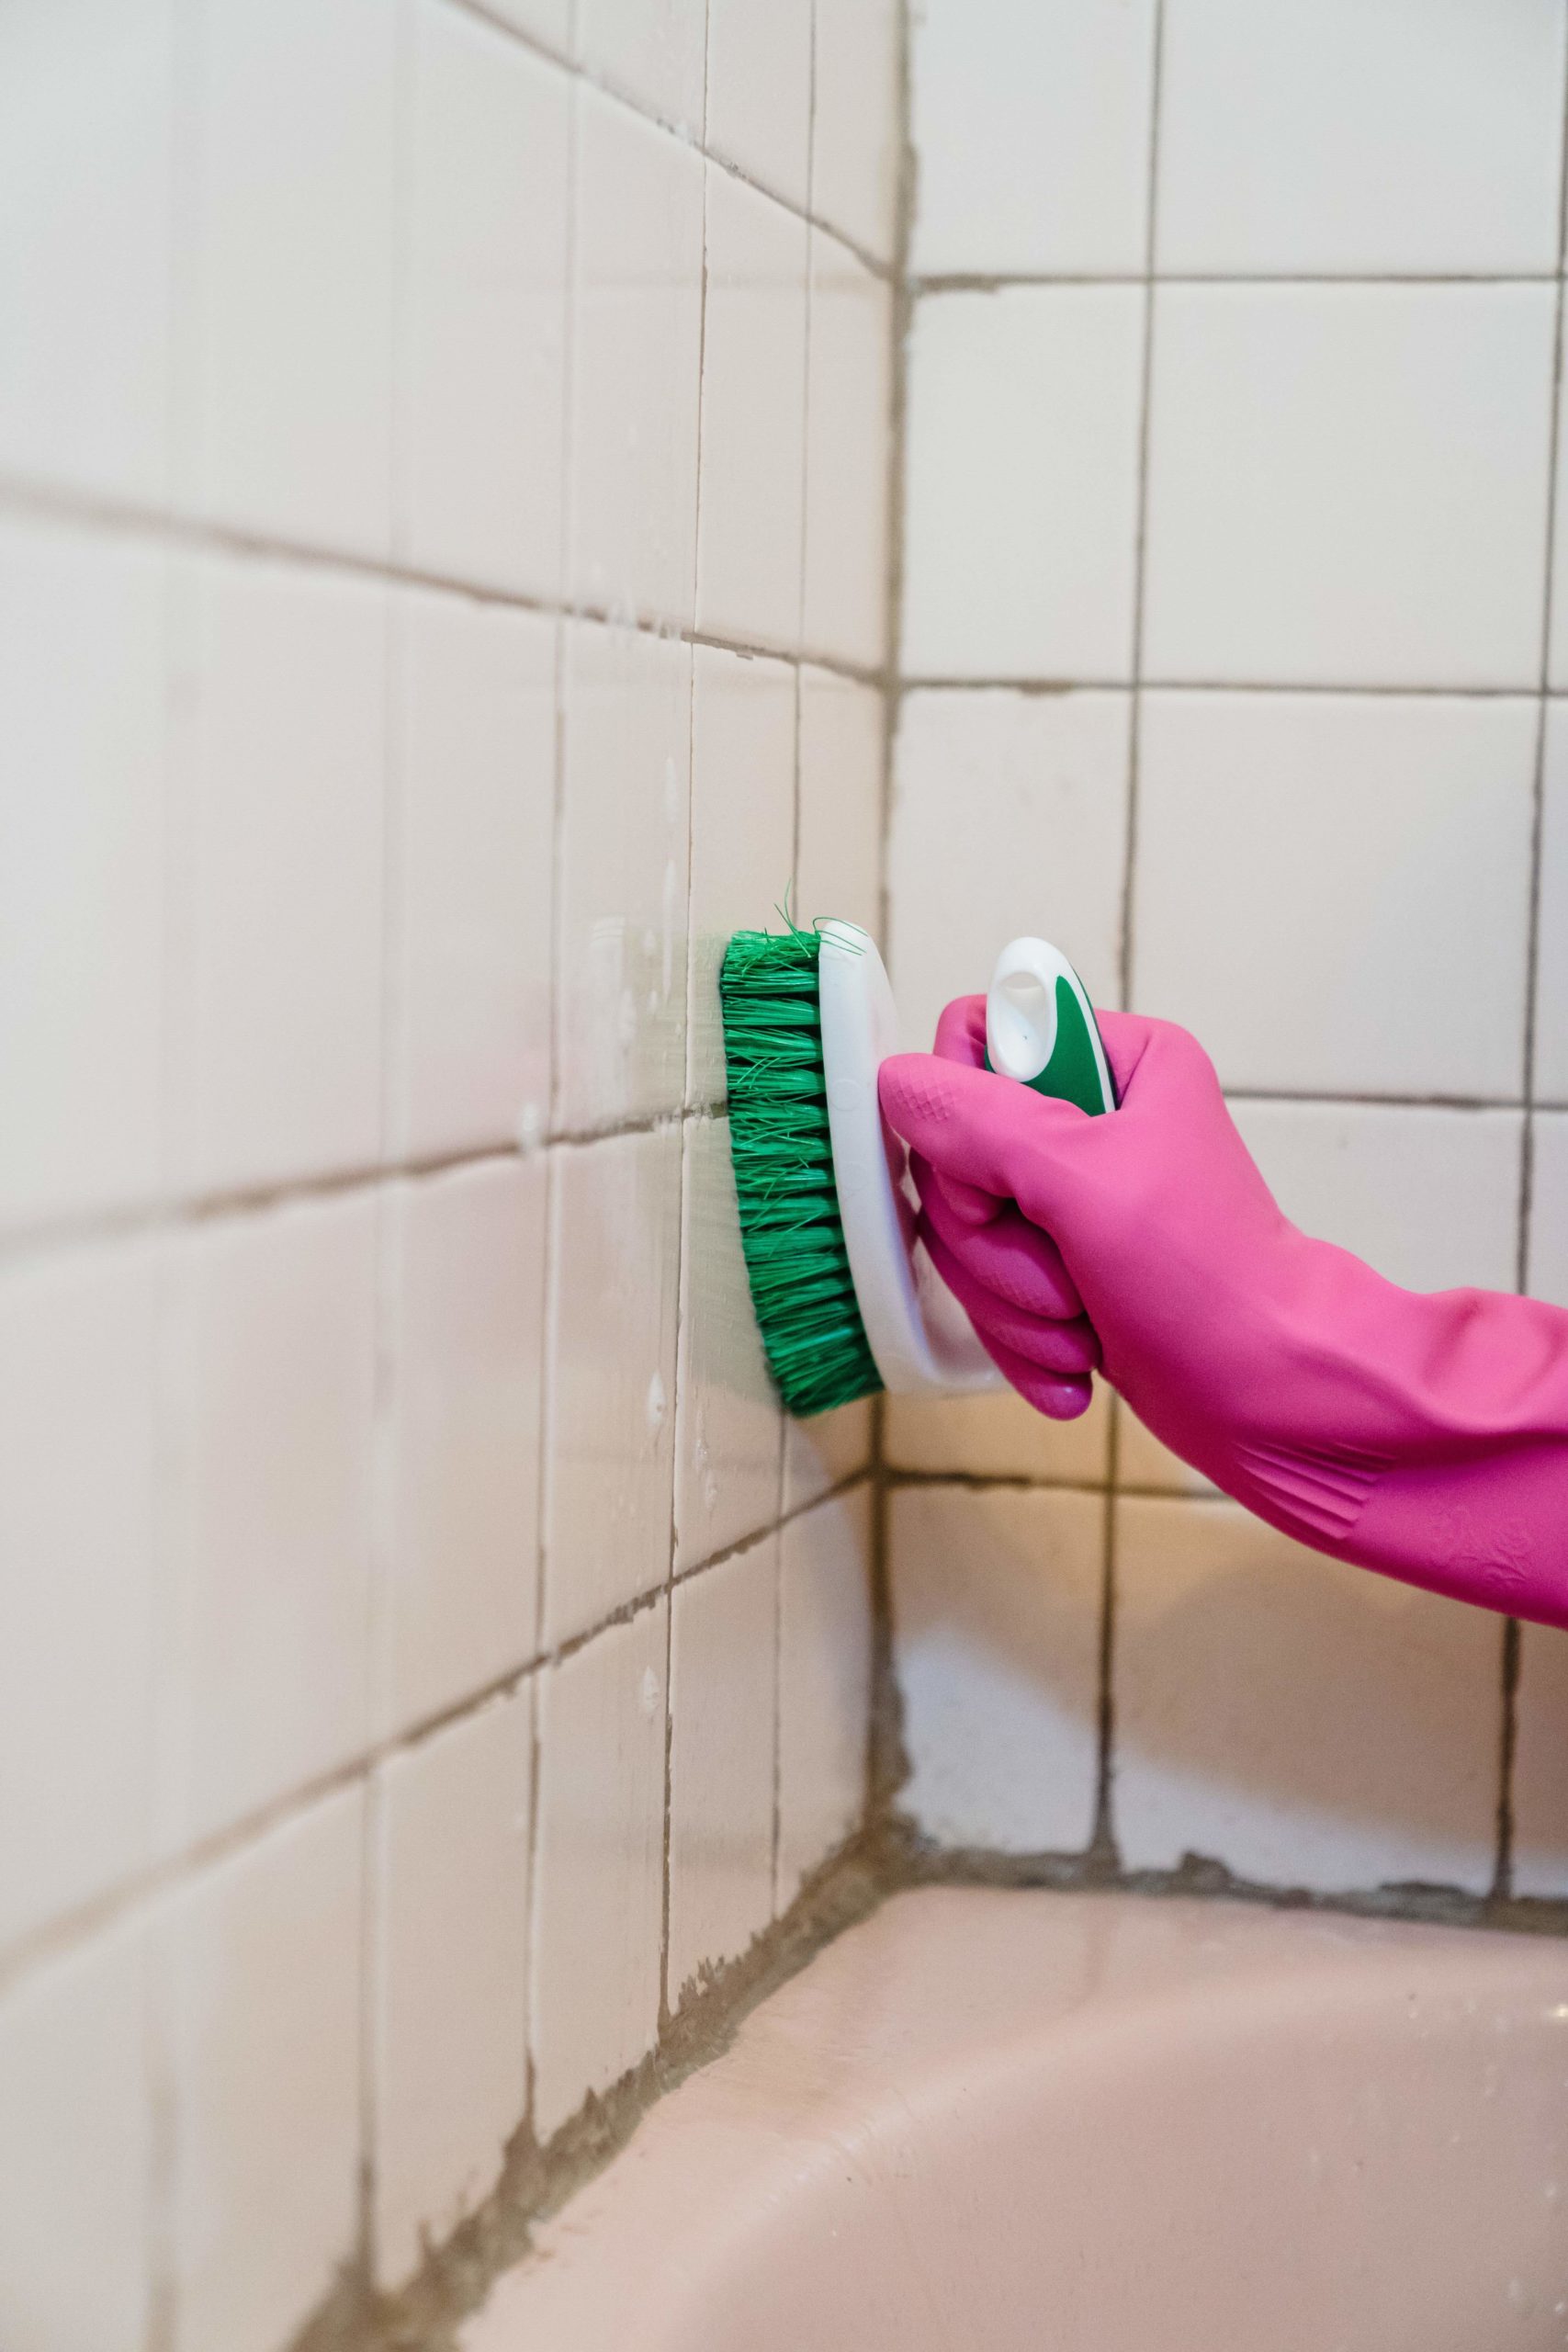
Step 3: Weekly scrubs
Professional cleaners recommend that bathrooms be cleaned at least once or twice a week, on top of daily sprays. Scrubbing and a few hard-hitting cleaning materials will further ensure the cleanliness of your bathroom.
Use your favourite commercial bathroom cleaner or our DIY spray from above and cover the shower, bathtub and basin surfaces with an even layer. Using a soft-bristled brush, an old, clean toothbrush, or a damp microfibre cloth, gently scrub the solution in circular motions. Spray on more material when needed.
Rinse the solution off with warm water and use a squeegee and a dry microfibre cloth to completely dry and buff these areas.
Step 4: Deep-clean methods for stubborn spots
A deep clean is needed for the areas that stubbornly remain mouldy and grimy. Not to mention a stronger cleaning material. Here’s what we recommend:
- Mixing equal parts of bicarbonate of soda with hydrogen peroxide until a paste forms
- Or using a spray-on bleach cleaner
- Or using a gel that specifically targets mould on grout and caulk lines
- Or use a hand-held steam cleaner to tackle stubborn areas
Make sure to use a soft-bristled brush to scrub the cleaning material of your choice into the grout or caulk – staying away from coarser/stainless steel bristles, which may damage surfaces.
Always leave the mixture on to sit for at least 15 minutes (or in some cases overnight) before rinsing off. Finish off the deep clean by going over the surfaces with your usual bathroom cleaner.
Step 5: Dry, dry, dry!
Last, but definitely not least, is drying the bathroom completely. If certain areas are still damp, mould will find its way there. Not to mention the streaks and odours that also build up. Use dry microfibre towels to buff areas dry, and keep doors and windows open for a good few hours before closing them again.
When to call the experts
If, after all these efforts, the mould just doesn’t want to budge, you may need to remove the caulk or grout. Ensure the area has aired out and completely dried before replacing the caulk or grout. And professionals are usually the best to call in these cases, in case there are leaks or other issues that need fixing at the same time.


")
