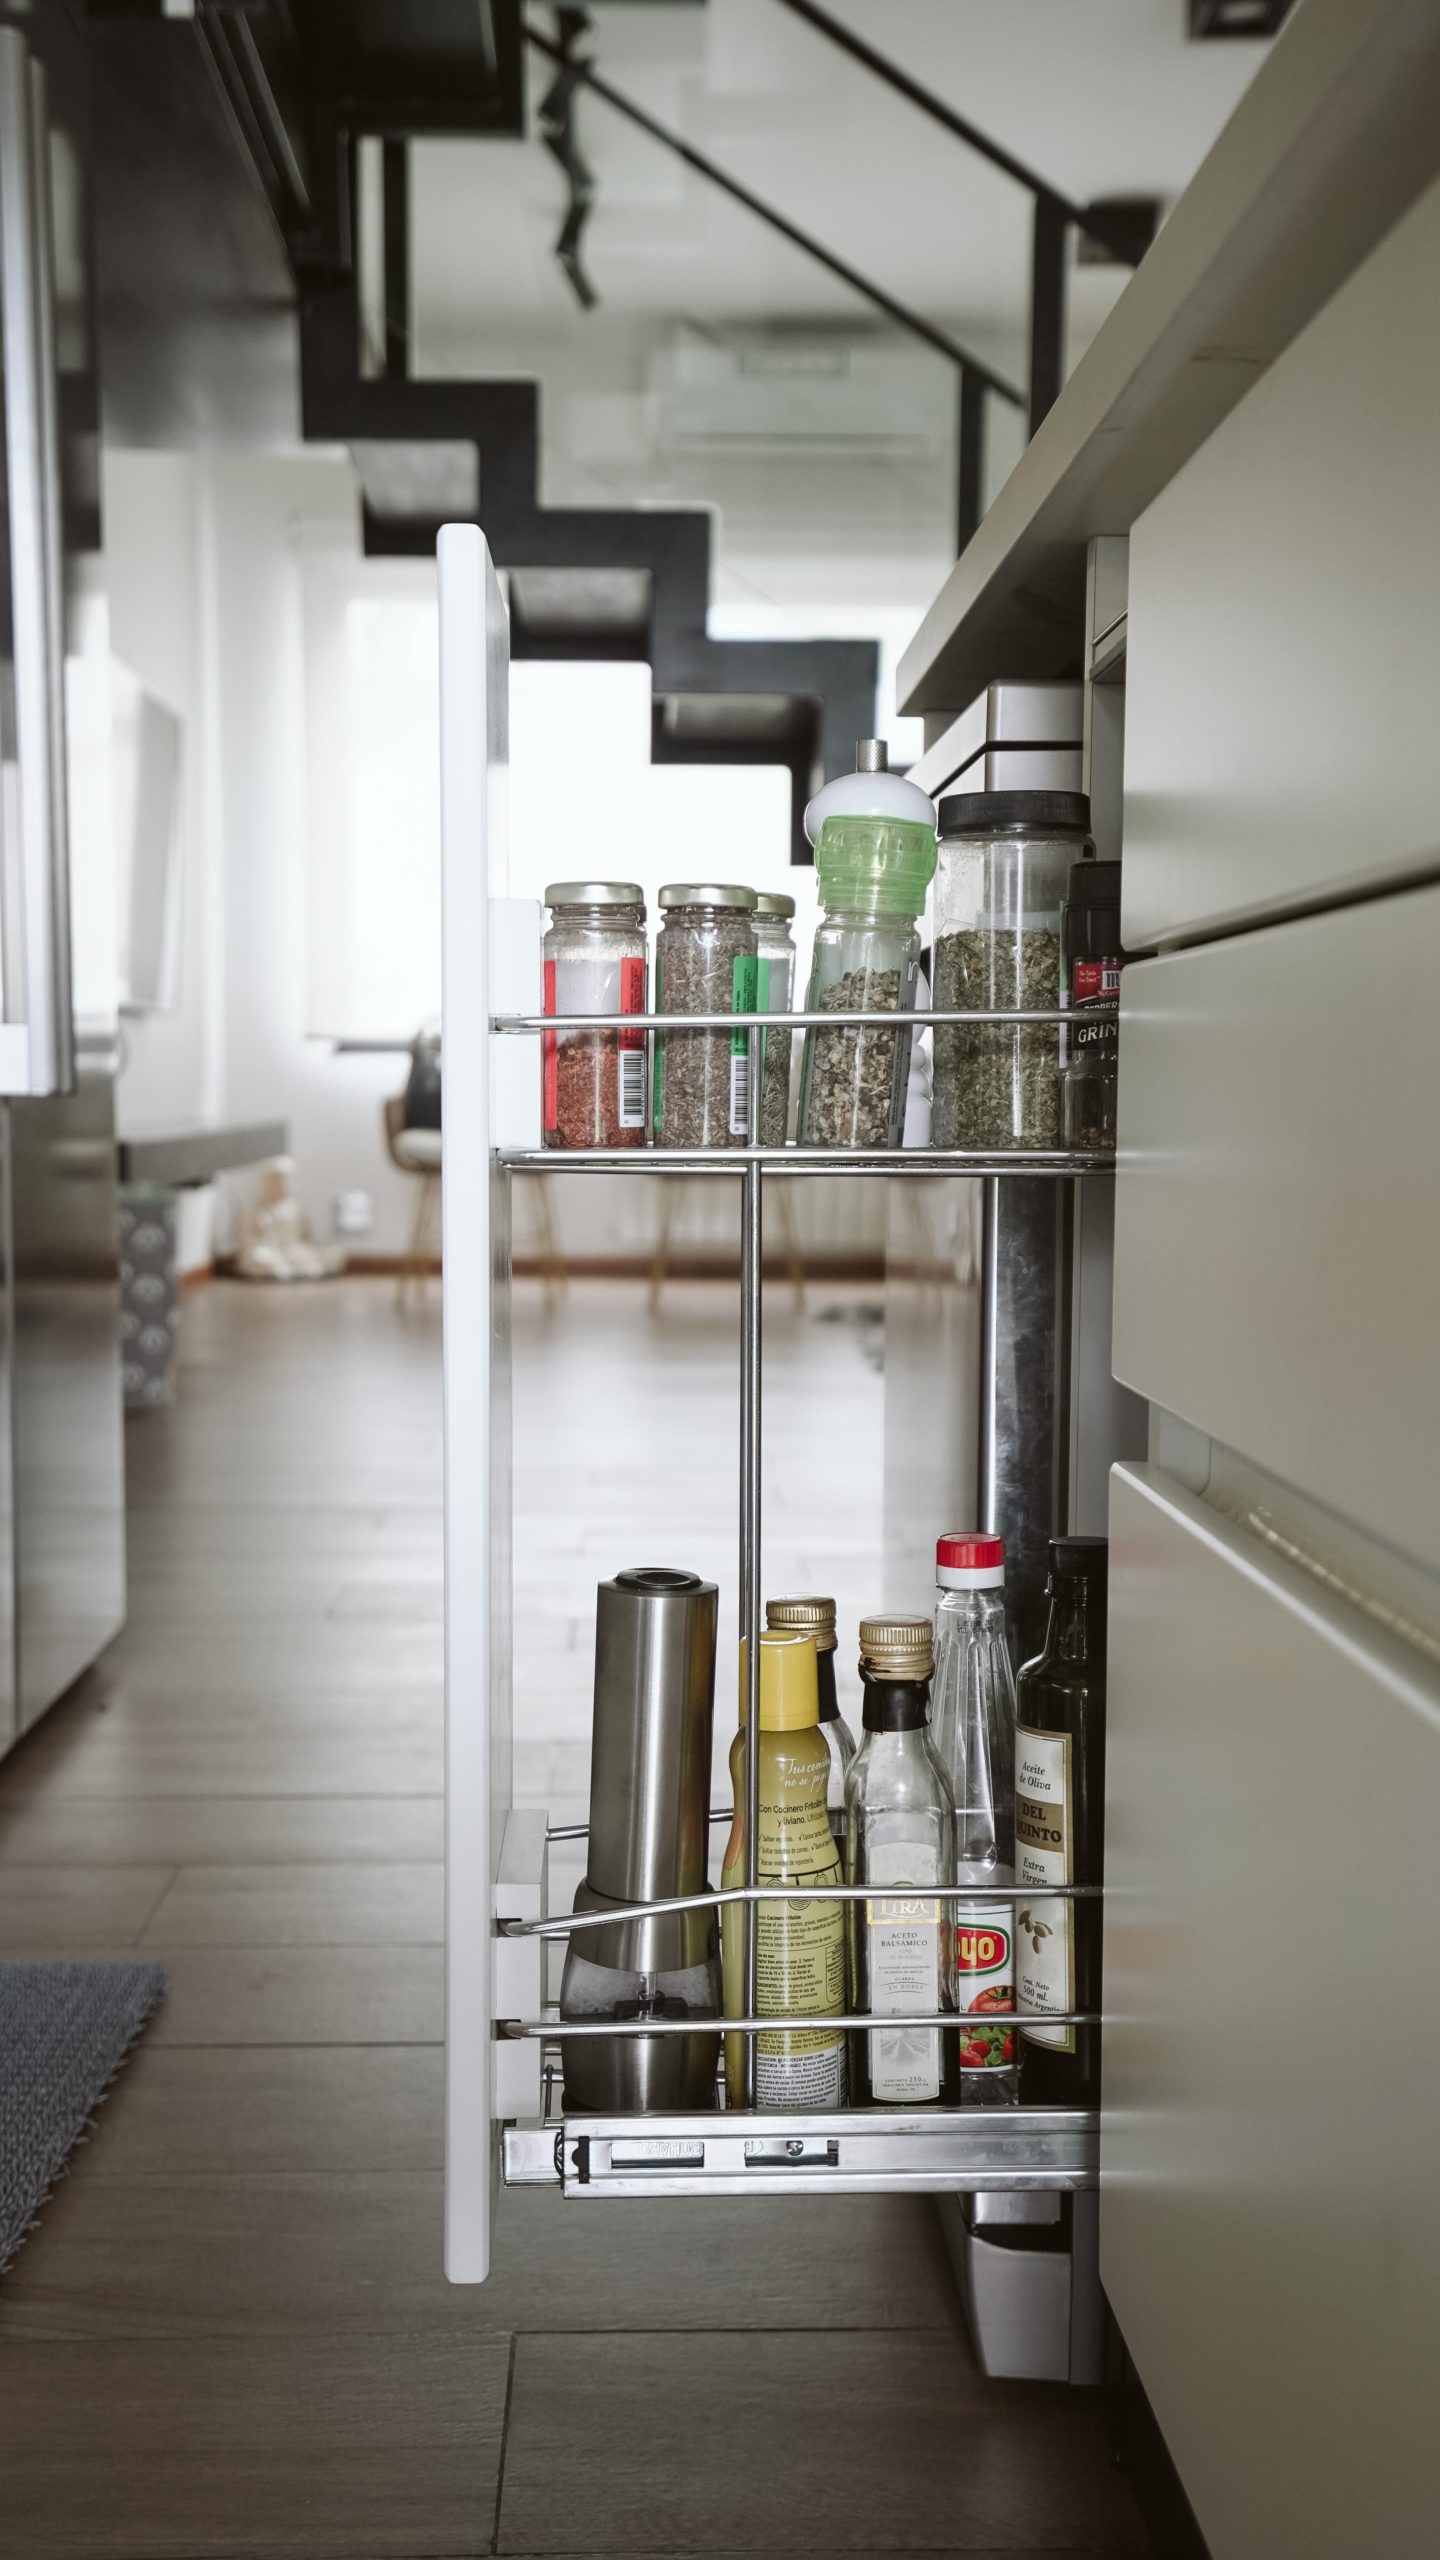
Spring has arrived, and with it comes the perfect excuse for a fresh start. While spring cleaning might traditionally mean tackling dusty corners and cluttered cupboards, your pantry deserves some attention too. A good pantry reset can help you clear out expired products, use up ingredients before they go to waste, see what you’re running low on and rediscover forgotten staples hiding at the back of the cupboard.
It’s also a great way to refresh your meal ideas for the season ahead. Before you write your next grocery list, take a look at what you already have – you might be surprised by how many breakfasts, lunches, snacks and dinners are already waiting to be made.
Spring cleaning your pantry sounds simple enough, but once you open the doors and see everything that’s accumulated, it can quickly feel overwhelming. Here’s our step-by-step guide to cleaning, decluttering and reorganising your pantry, so it’s fresh, functional and ready for the warmer months ahead.
How to spring clean your pantry
Before you even start that next grocery list, spring clean your pantry first. You will no doubt find a handful of pantry staples that can instantly create a delicious pantry meal or form the foundation of the next three dinners. Work with what you have first, and then start that next grocery list (your pantry and budget will thank you for it). This shouldn’t take more than 30 minutes.
What you’ll need:
- Vacuum cleaner with brush attachment; a hand-held vacuum would be the best here if you’ve got one
- Container/bucket filled with hot, soapy water
- Cleaning cloth
- Drying cloth
- Wrapping/baking paper sheets, cut to the size of each shelf
- A few containers or bags filled with dried bay leaves
Spring cleaning steps
- Remove all the items from your pantry.
- Inspect each shelf, nook and cranny. Look for any signs of pest infestations (dead bugs, moths, droppings, etc.). If you do find any serious signs (like mouse or rat droppings), it might be time to call a professional.
- Vacuum each shelf, focusing on corners and sides of the cupboard.
- Next, gently scrub each surface with hot, soapy water. You may need to repeat this step to remove oil or other condiment stains.
- Use a drying cloth to wipe down any excess moisture. Leave the pantry doors open to air out until completely dry before repacking.
- While your pantry is drying, inspect your pantry items. Set items set to expire within the next few days into one pile. Identify any items that can and need a proper wipe down (those are usually your oil bottles and other condiments, flour containers and other baking goodies).
- Lay one or two wrapping or baking paper sheets down on each shelf (these help keep your pantry cleaner, more organised, and more importantly, soak up any spills or leaks).
- Re-pack your pantry. Place items that only expire in a few months at the back, and items set to expire soon or those that you constantly use in the front/easy-to-reach spaces.
- Finally, pop a small container or bag filled with dried bay leaves in the middle of each shelf. Bay leaves are natural pest deterrents (helping to save your dry goods from flour beetles and other bugs).