
One trick I’ve learnt from working in the hospitality industry is that prep is king. Your secret weapon in any kitchen, whether you’re a seasoned home cook or pro chef, is prep. Whatever you can peel, chop, dice, blanch, and freeze ahead of time will make your cooking journey easier and far more enjoyable. A simple (but game-changing) place to start? Freezing fresh herbs. Here’s how.
Why freeze fresh herbs?
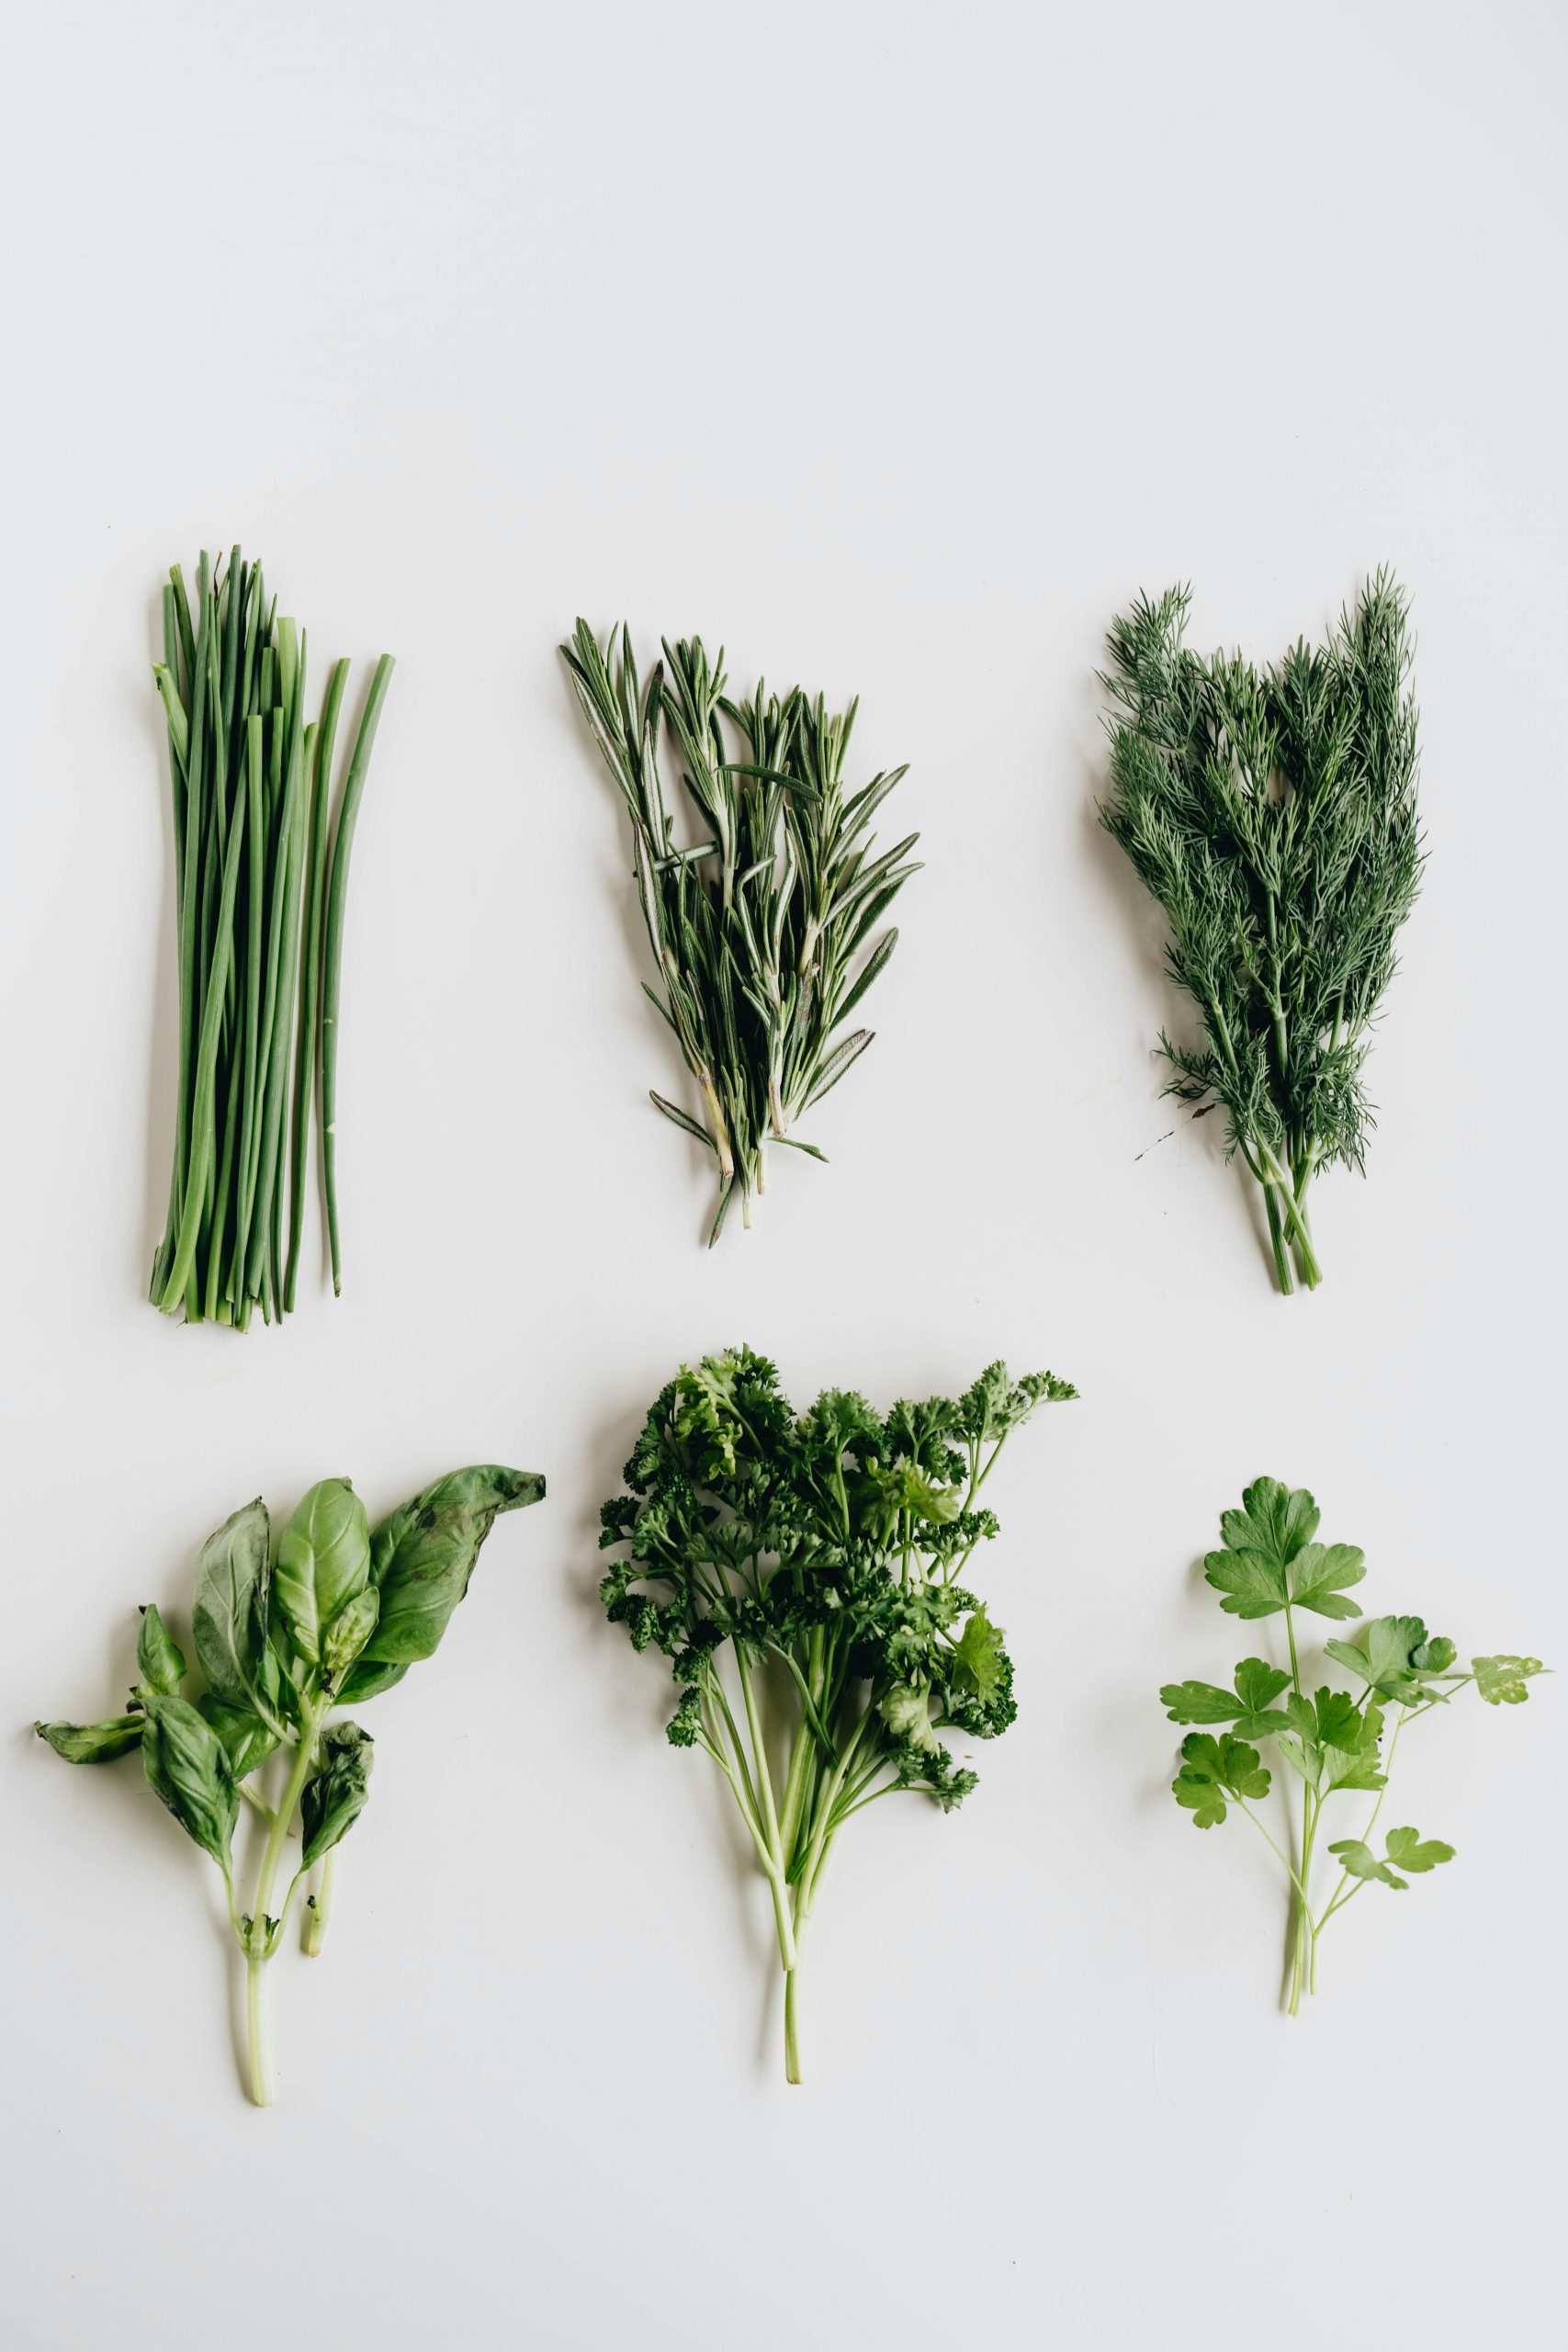
You might have gotten super excited and bought a huge bunch, or two, of fresh herbs from your local fruit and veg store (like me, I’m a culprit), or you’ve successfully picked a huge harvest from your garden, and you’re worried you won’t be able to use them in time. Instead of working double and making dishes with them (although a stash of pesto never hurt anybody), consider freezing them!
- Reduce waste: Save herbs that might otherwise wilt in the fridge (and save the money you’ve spent on them, too)
- Fresher than dried: Fresh to frozen herbs retain more flavour and colour compared to fresh to dried (freeze-dried is another story)
- Convenient: You’ll always have a flavour bomb tucked away in your freezer, even out of season
- Secret weapon for flavour: Access to frozen herbs is a quick way to elevate soups, sauces, and marinades
How to freeze herbs without losing flavour
Now, you can’t just pop herbs in the freezer as is and hope for the best (I mean, you can, we all have lazy days). If you do, the ice crystals formed on the herbs in the freezer will break down cell walls, damaging their colour and flavour, and even leading to the dreaded freezer burn.
Freezing herbs takes a little time and prep work, but when done correctly, it will last long and pack a punch when added to soups, stews, gravies, and salad dressings. Follow our step-by-step guide to help you preserve freshness.
1. Harvest, rinse, and chop
- If you’re harvesting from your garden, pick herbs just before midday, after last night’s dew has evaporated.
- If you’re ‘harvesting’ at the local grocer, pick out a bunch that looks vibrant, with leaves and stems upright (we don’t want sagging herbs to start with)
- Rinse thoroughly and pat dry (or salad spin)
- Chop into usable sizes, like a rough chop or fine dice (keep chopping minimally with basil to avoid bruising)
- Or keep them whole, just make sure to de-stem them
2. Blanch and shock in an ice bath
- Place chopped herbs in a fine mesh sieve, and briefly dip into boiling water, no more than 30 seconds
- Immediately transfer to an ice bath to stop the cooking process, leave for a good 30 seconds to a minute
- This preserves the colour, locks in the flavour, and stops enzymes from breaking them down
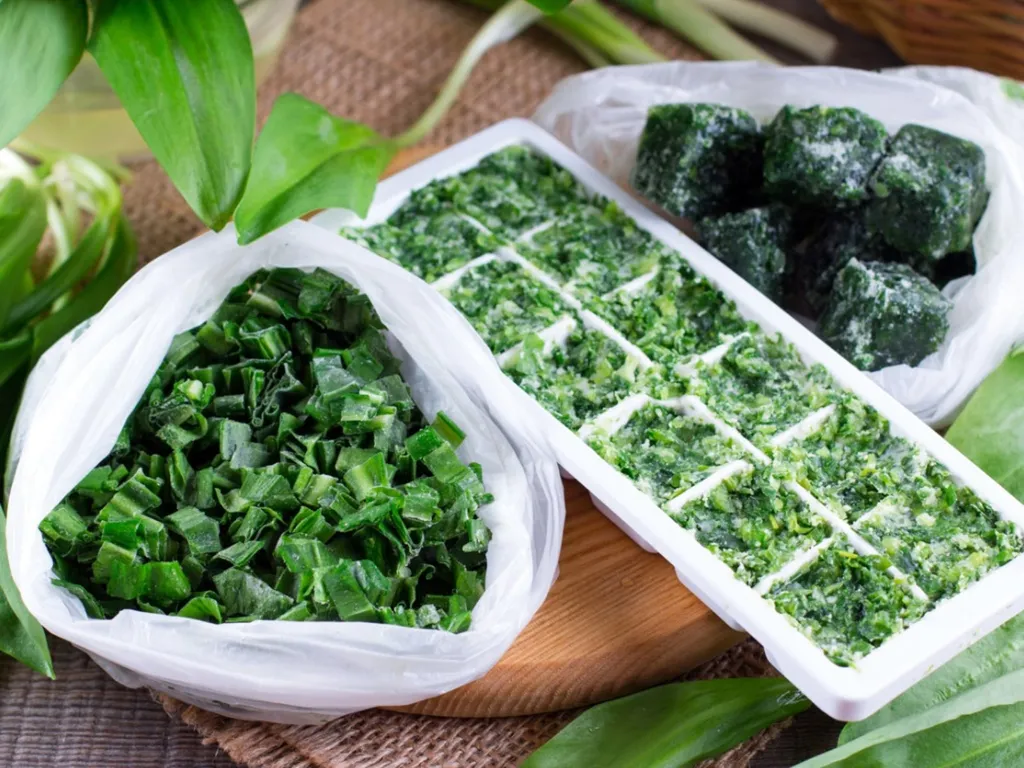
3. Choose your container: ice cube tray or zip-lock bag
Ice cube tray method:
- Fill trays with blanched herbs
- Top with water or olive oil (water takes longer to defrost but doesn’t go off; olive oil adds a lush texture to dishes)
- Freeze overnight and then transfer cubes to a labelled freezer bag
Zip-lock bag method:
- Spread blanched herbs in a single layer in a bag
- Freeze flat as is, or with some olive oil, and labelled
- Use kitchen scissors to slice off exactly what you need
4. Use as needed
- Freezing this way allows you to take only what you need
- Keep the rest sealed and frozen for up to 6 months
Freezing fresh herbs is a game-changer for any cook: it saves money, reduces waste, and gives you a stash of flavour at your fingertips all year long. Whether in oil cubes or freezer bags, your herbs will be ready to add much-needed freshness and flavour whenever the craving strikes!


