
Whether you live in a small garden flat, a high-rise apartment with a balcony, or just have a few pots on a windowsill, you can turn your kitchen scraps into nutrient-rich compost, cleanly and (mostly) smell-free, right on your kitchen counter.
Gone are the days of overpriced nursery compost and the guilt that comes with throwing away mouldy fruit or soggy veggies you never got around to eating. With this beginner-friendly guide to kitchen composting, you’ll help the planet and grow thriving plants, one bin at a time.
Is composting really worth the effort?
Not only is compost packed with nutrients and minerals your plants need to flourish, but it also helps reduce food waste, giving new life to the scraps you’ve spent a small fortune buying (those berries don’t come cheap).
Still, some say that it’s more effort than it’s worth. Others insist the rewards (lush planters, healthy soil, and a lighter bin bag) far outweigh the work.
Here’s a breakdown to help you decide:
Pros:
- Save money on store-bought compost
- Reduce your home’s kitchen waste
- Feeds your plants with nutrient-rich soil
- Helps reduce methane gas emissions from landfills
- Great for people wanting to live more sustainably
Cons:
- If done incorrectly, it can smell
- If not maintained, it can attract fruit flies
- Some systems take longer to produce compost
- Requires daily habit-building/change of routine
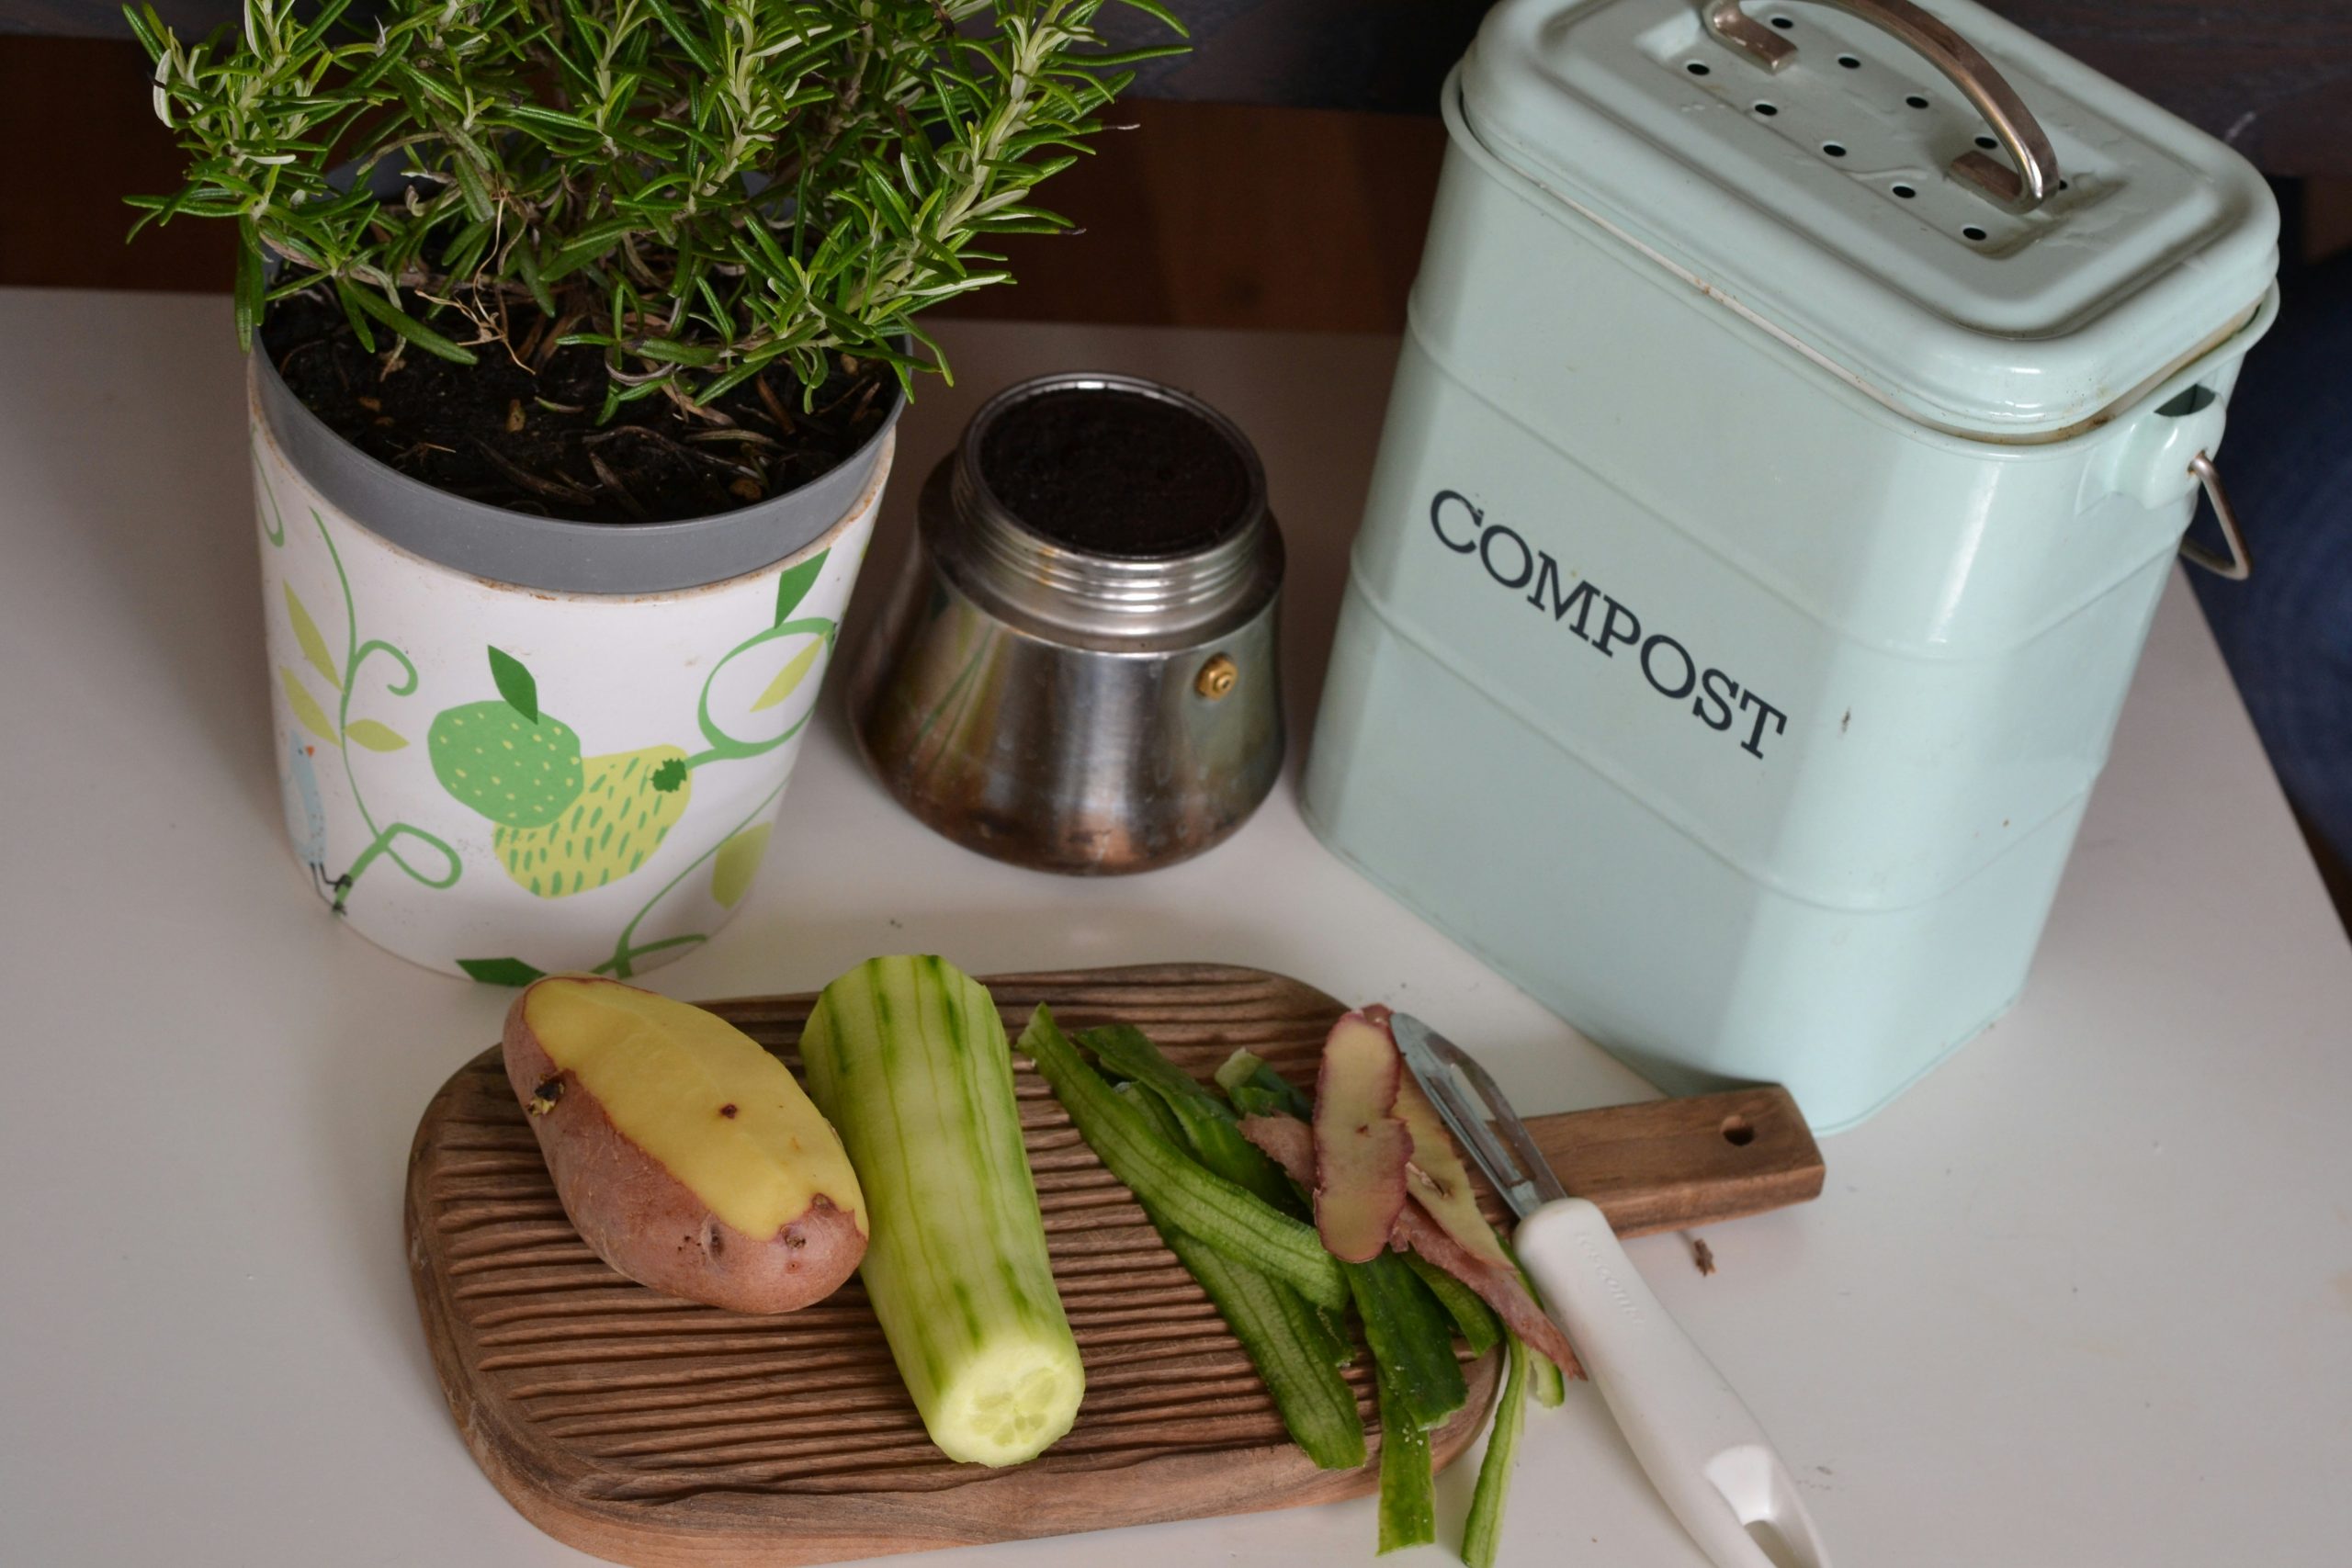
Kitchen counter composting 101
Don’t have a dedicated space for a compost pile in your backyard? No problem! Whether your ‘garden’ is on your balcony or windowsill, you can still compost kitchen scraps right at home.
What you’ll need to get started:
- A sealed countertop composting bin (store-bought or homemade)
- Compostable bin liners or newspapers
- One of the following composting bins:
- Bokashi bin (perfect for small spaces, uses fermentation to compost, meat and dairy friendly)
- Worm bin (small enough to be placed under a counter or kept on the balcony, worms break down scraps)
- Electric bin (turns kitchen scraps into soil-like material in a matter of hours)
A step-by-step guide
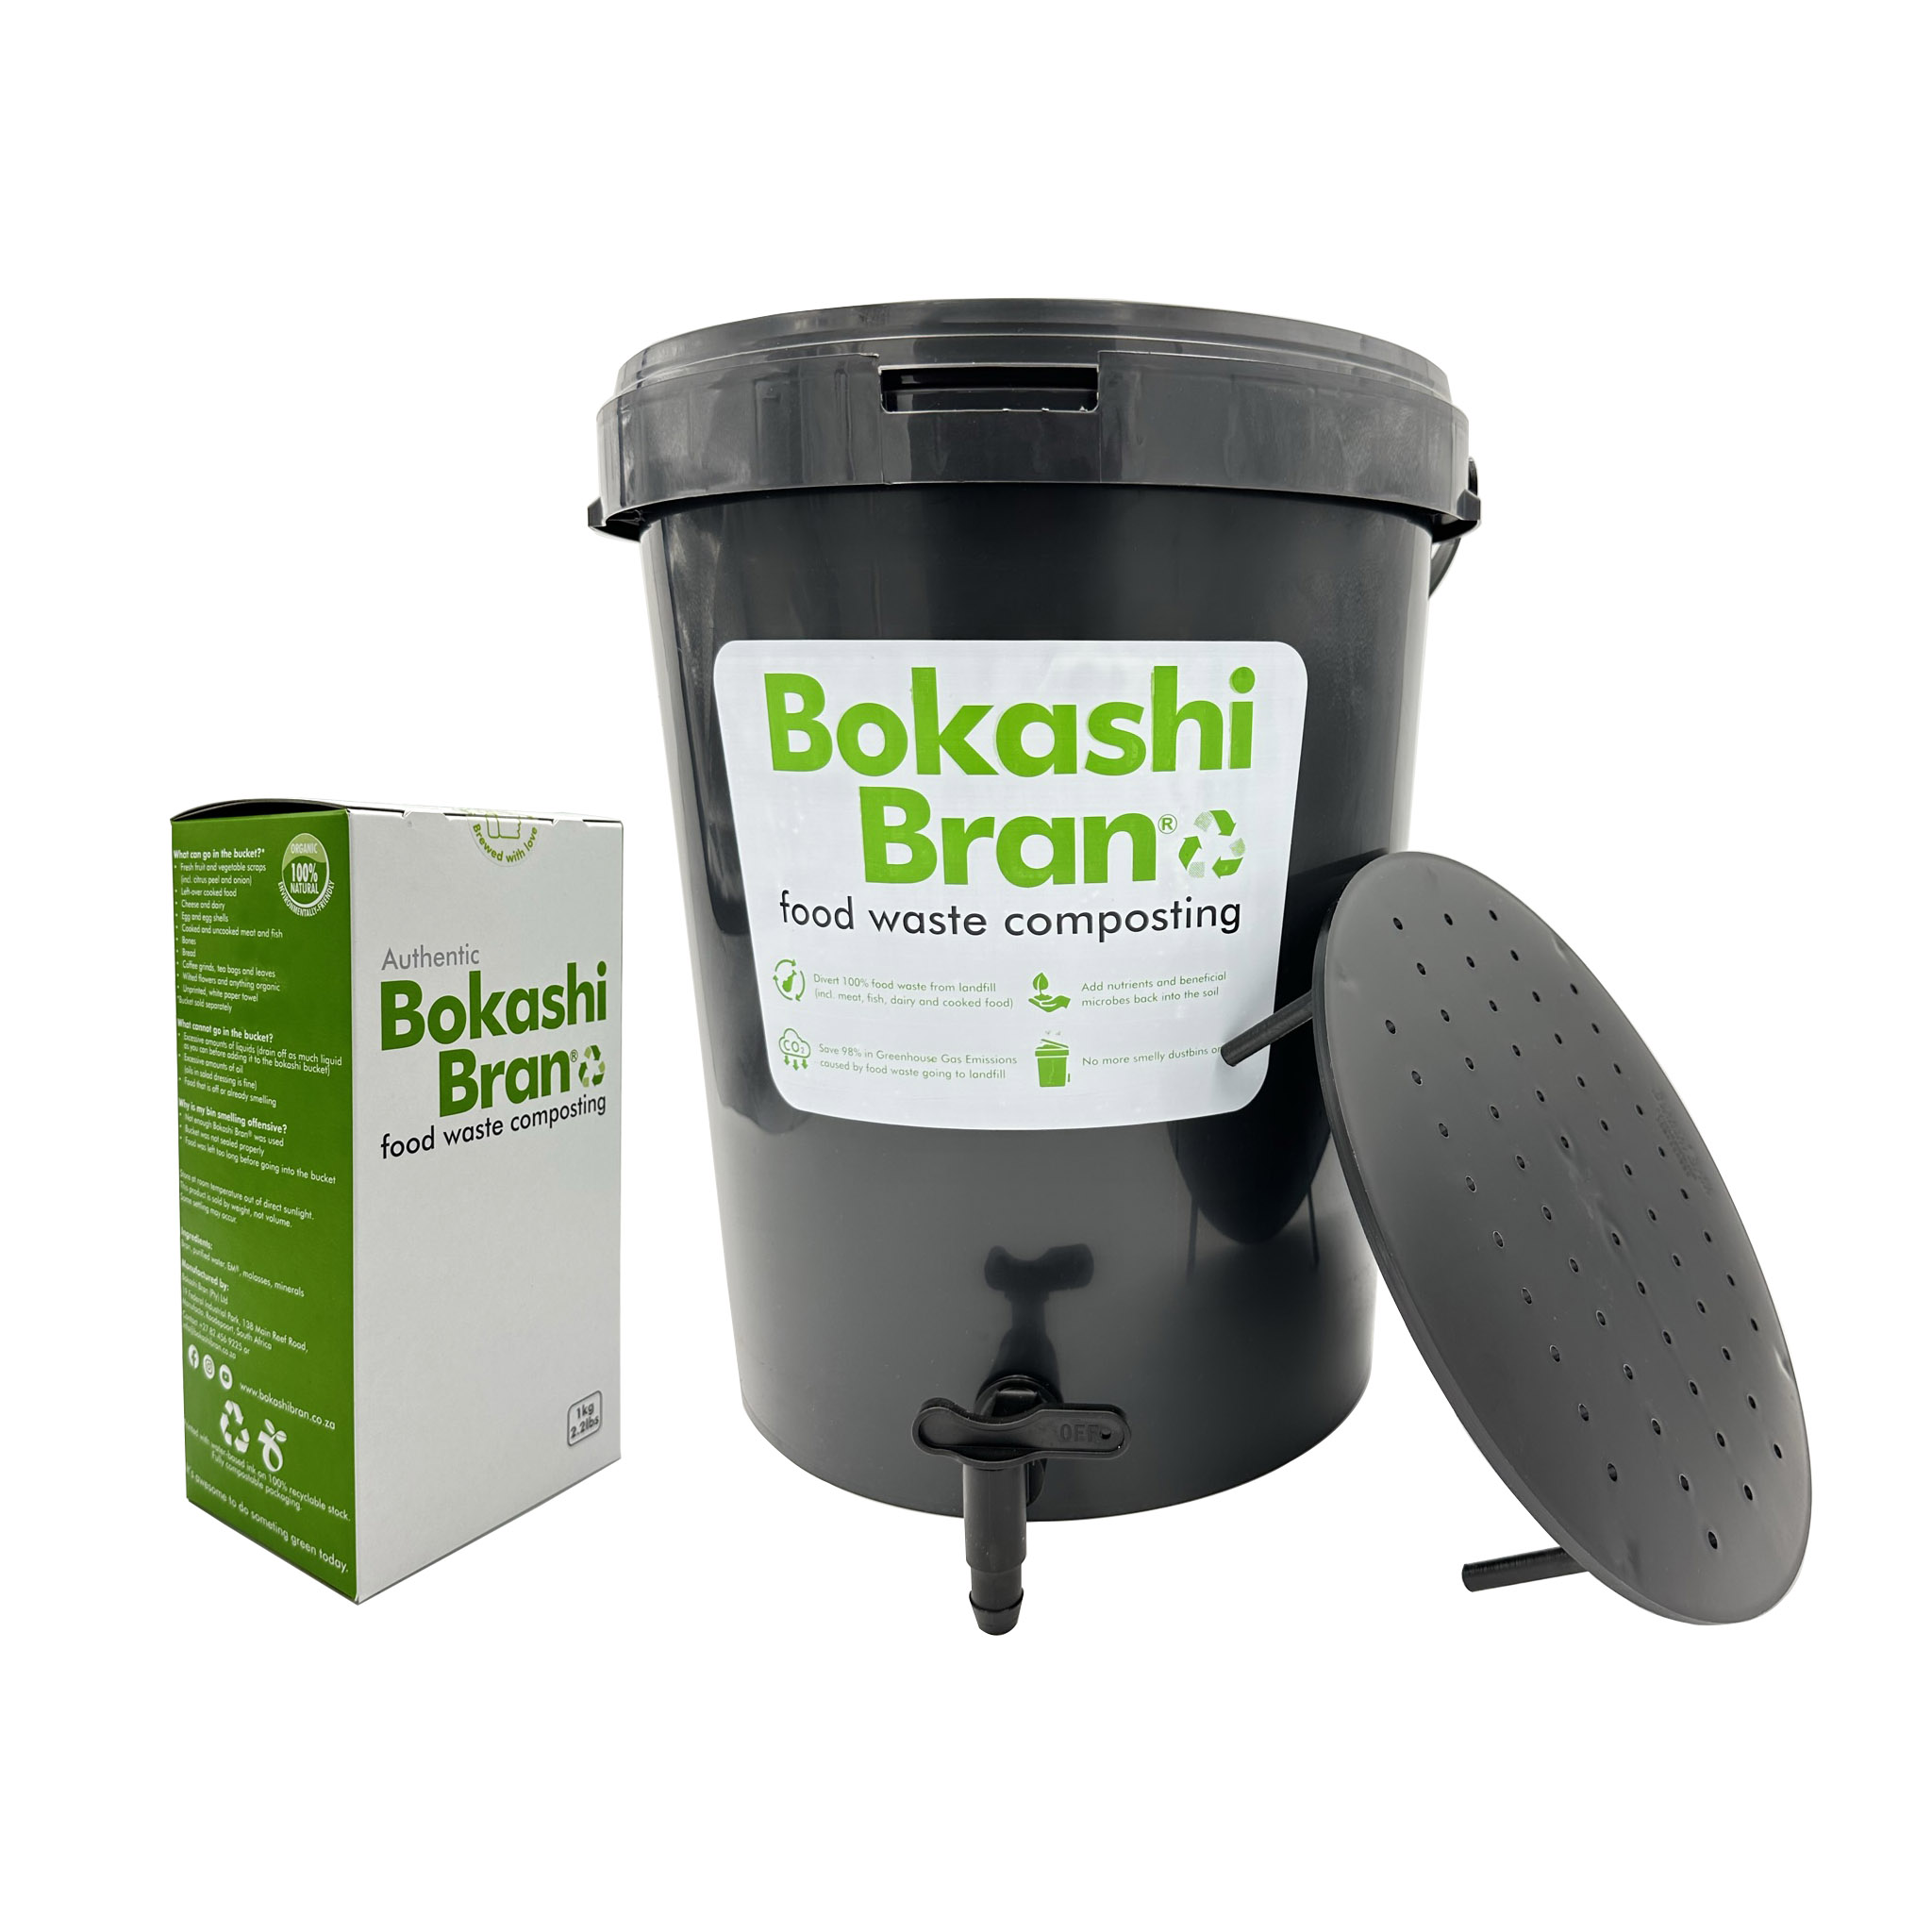
1. Bokashi bin
- Layer kitchen scraps with bokashi bran (contains microorganisms that will ferment the scraps)
- Seal the bokashi bin and allow it to ferment for 2 to 4 weeks for “pre-compost”
- Break down the “pre-compost” further over another 2 to 4 weeks by mixing it into:
- The base of the pot plants before planting new seeds or seedlings
- Mix with potting soil to top up indoor pot plants
- Mix with topsoil to dig into garden beds
- Use the liquid, often called bokashi juice or tea, as a liquid fertiliser for plants (mix 1 part bokashi tea with 100 parts water, i.e. 1 cup bokashi tea with 100 cups or 25 litres of water)
2. Worm bin
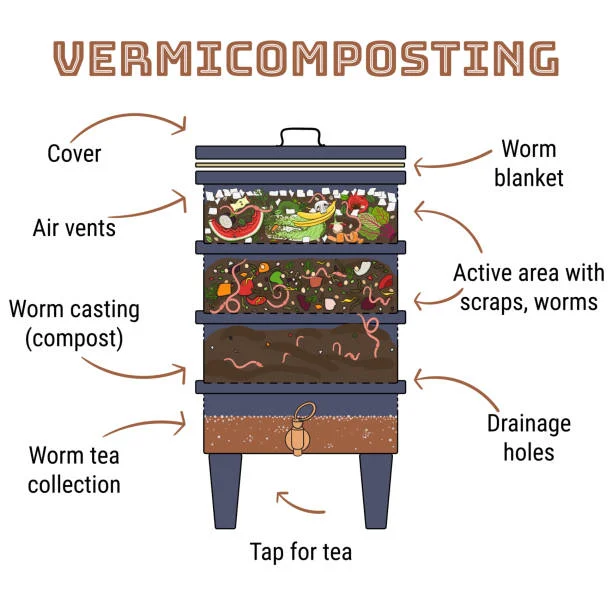
- Collect kitchen scraps and add to the worm bin daily or weekly
- Be sure to add enough bedding (like shredded newspaper) to soak up excess liquids, and keep the worms cool and aerated (by gently mixing the new and old scraps)
- Check in on your worm’s progress over 1 to 2 months
- Harvest the worm castings (AKA compost) and use directly in pot plants or to fertilise gardens
- Use the worm bin tea to make liquid fertiliser (mix 1 part worm bin tea with 100 parts water)
3. Electric composting bin

- Collect enough kitchen scraps to fill the electric composting bin
- Press start or initiate the beginning of the electric bin’s cycle
- In a few hours (3 to 24, depending on the machine), you’ll get dry composted material
- Use directly in pot plants or to fertilise your garden
From scrap to soil: Which is faster?
- Electric bin: 3 to 48 hours, depending on the machine
- Bokashi bin: 2 to 4 weeks for pre-compost and an additional 2 to 4 weeks for full breakdown outdoors (in pots or garden beds)
- Worm bin: 2 to 3 months
- Outdoor pile: 3 to 6 months (for comparison)
The dos and don’ts of composting
Do compost these:
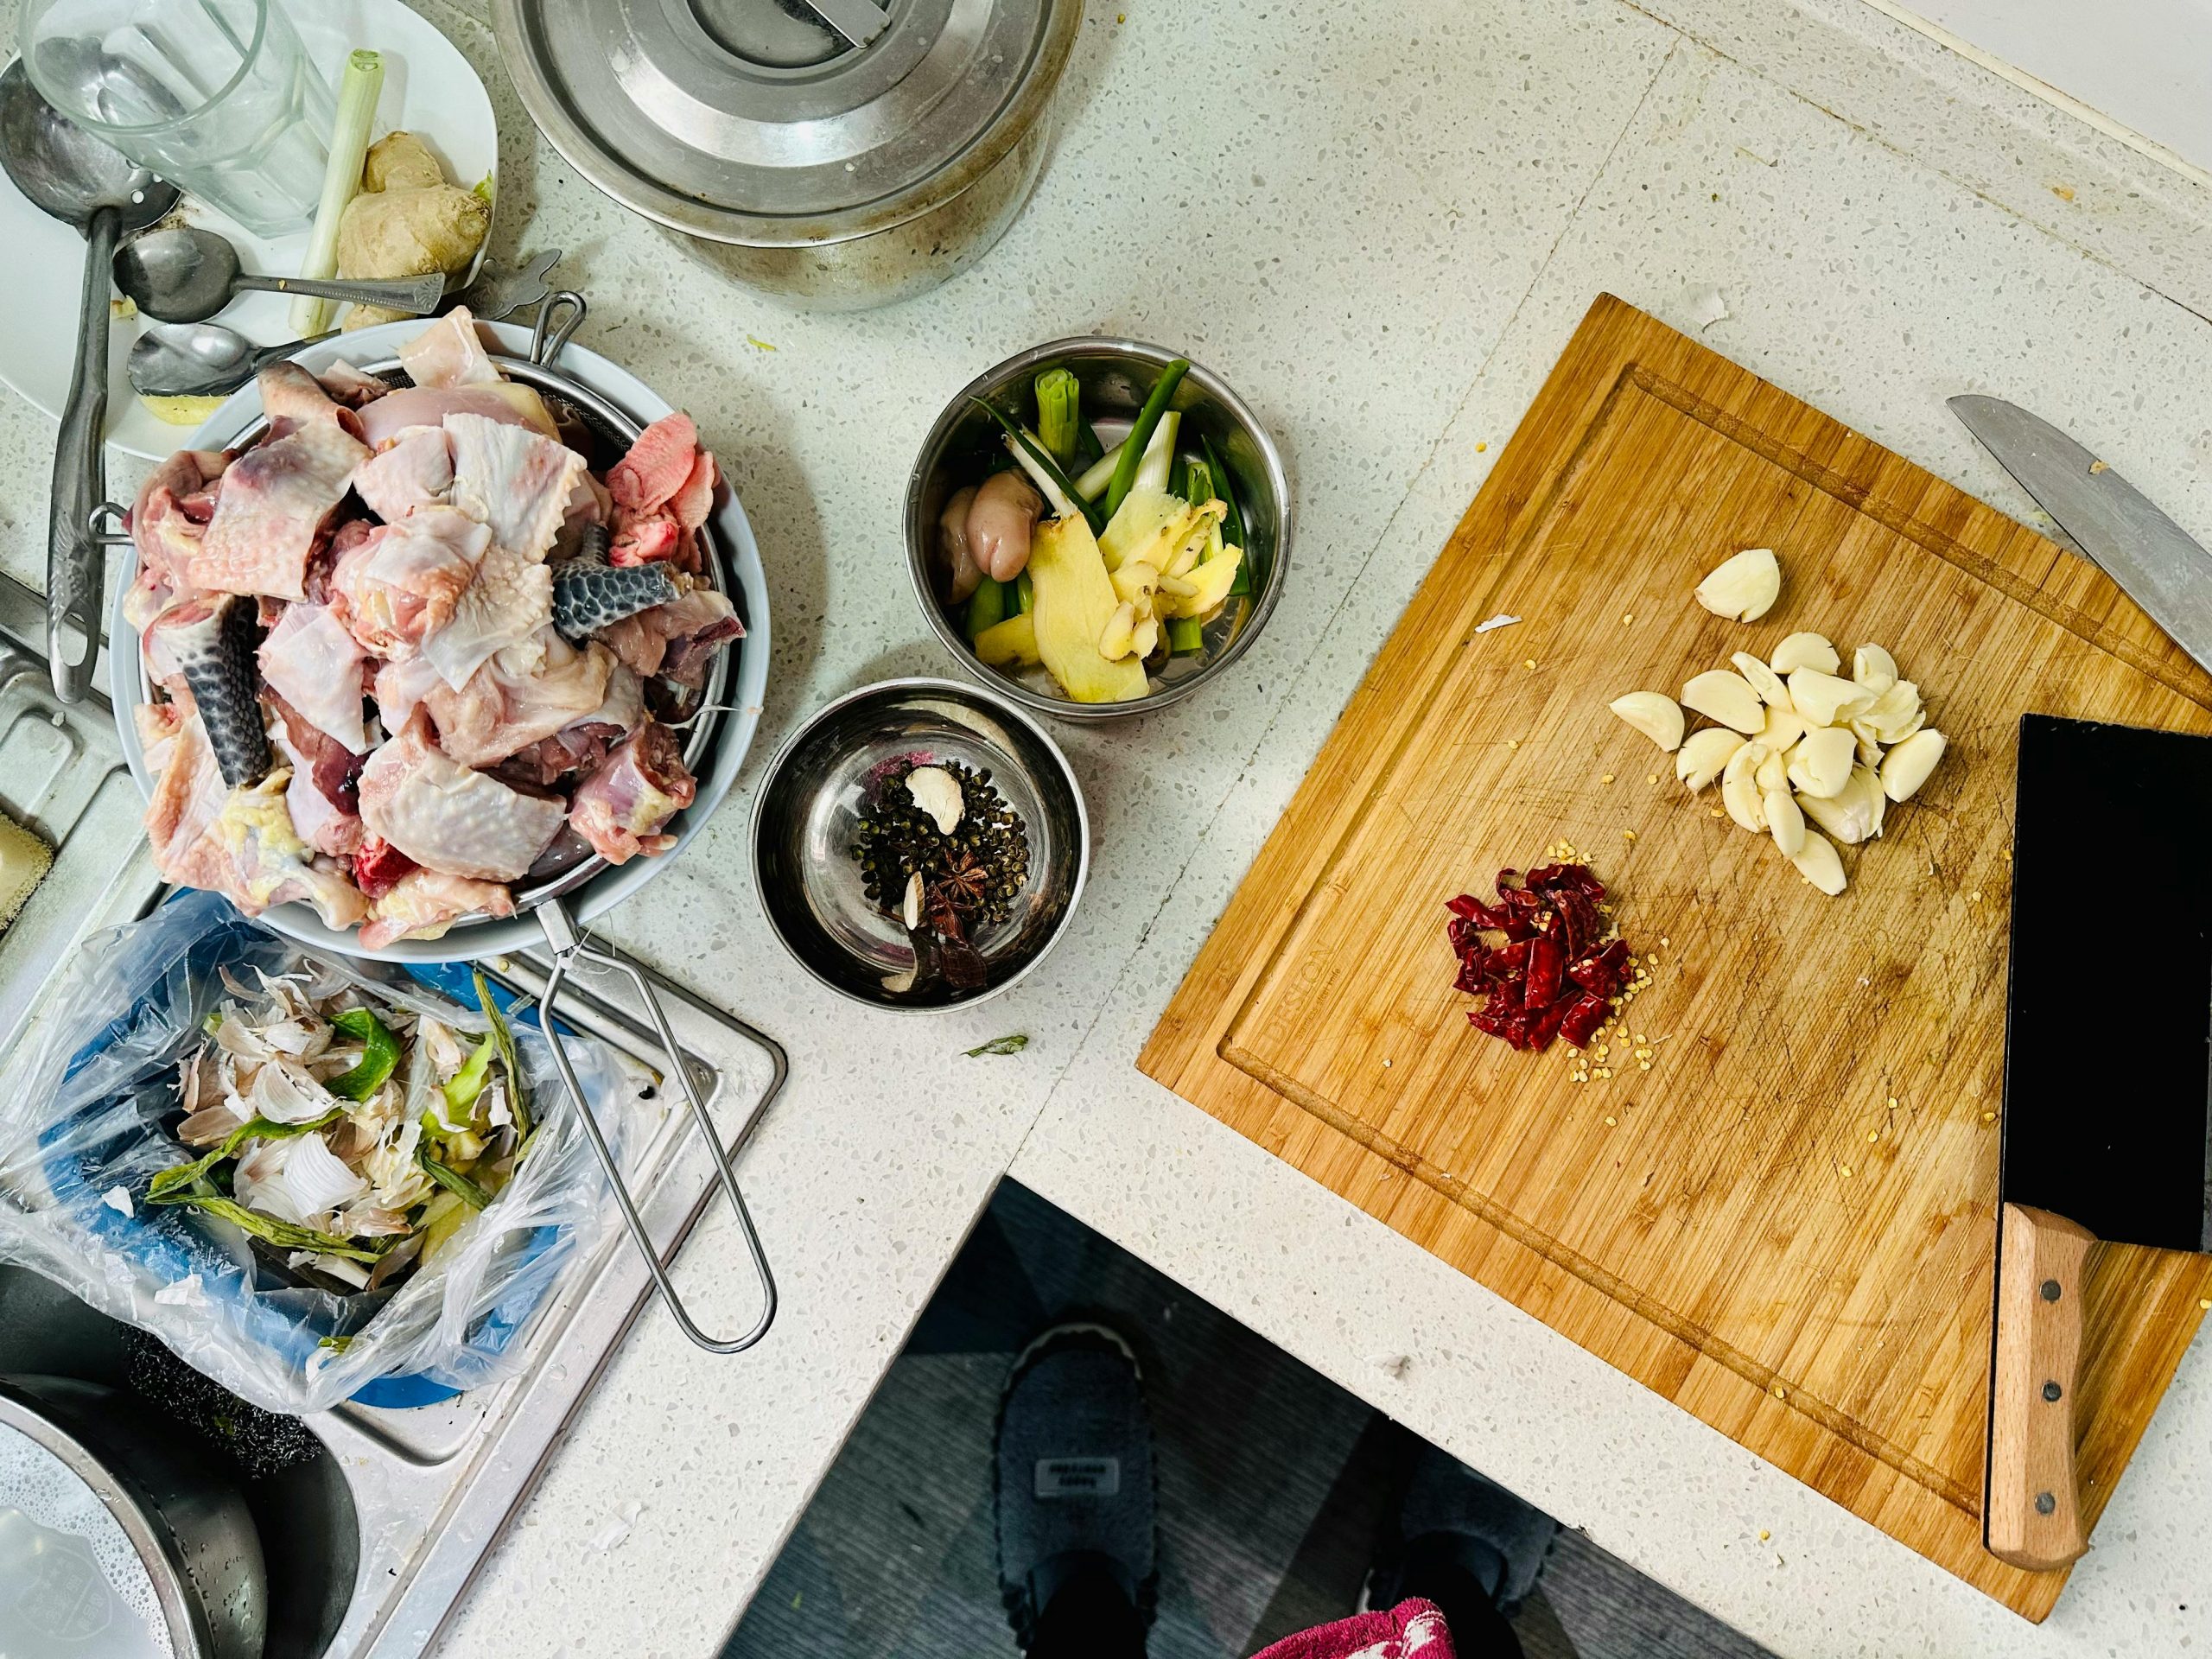
- Fruit and veggie scraps
- Coffee grounds and filters
- Tea bags (remove any plastic mesh)
- Crushed eggshells
- Unbleached paper towels, serviettes, newspaper, and cardboard
- Bread crusts
Don’t compost these:
- Oily foods
- Meat, bones, or fish (unless you’re using a bokashi bin)
- Dairy (unless you’re using a bokashi bin)
- Specifically for worm bins: excess citrus (worms hate them)
- Plastic or foil
- Glossy paper
Bonus: Smell-free composting tips
- Freeze food scraps until ready to compost
- Rinse your bin regularly between composting cycles
- Avoid overloading with one type of scrap (like mouldy fruits or citrus), make sure to mix food scraps with paper scraps
Also See: Upcycling ingredients: How to give your kitchen scraps a second life
Upcycling ingredients: How to give your kitchen scraps a second life


