
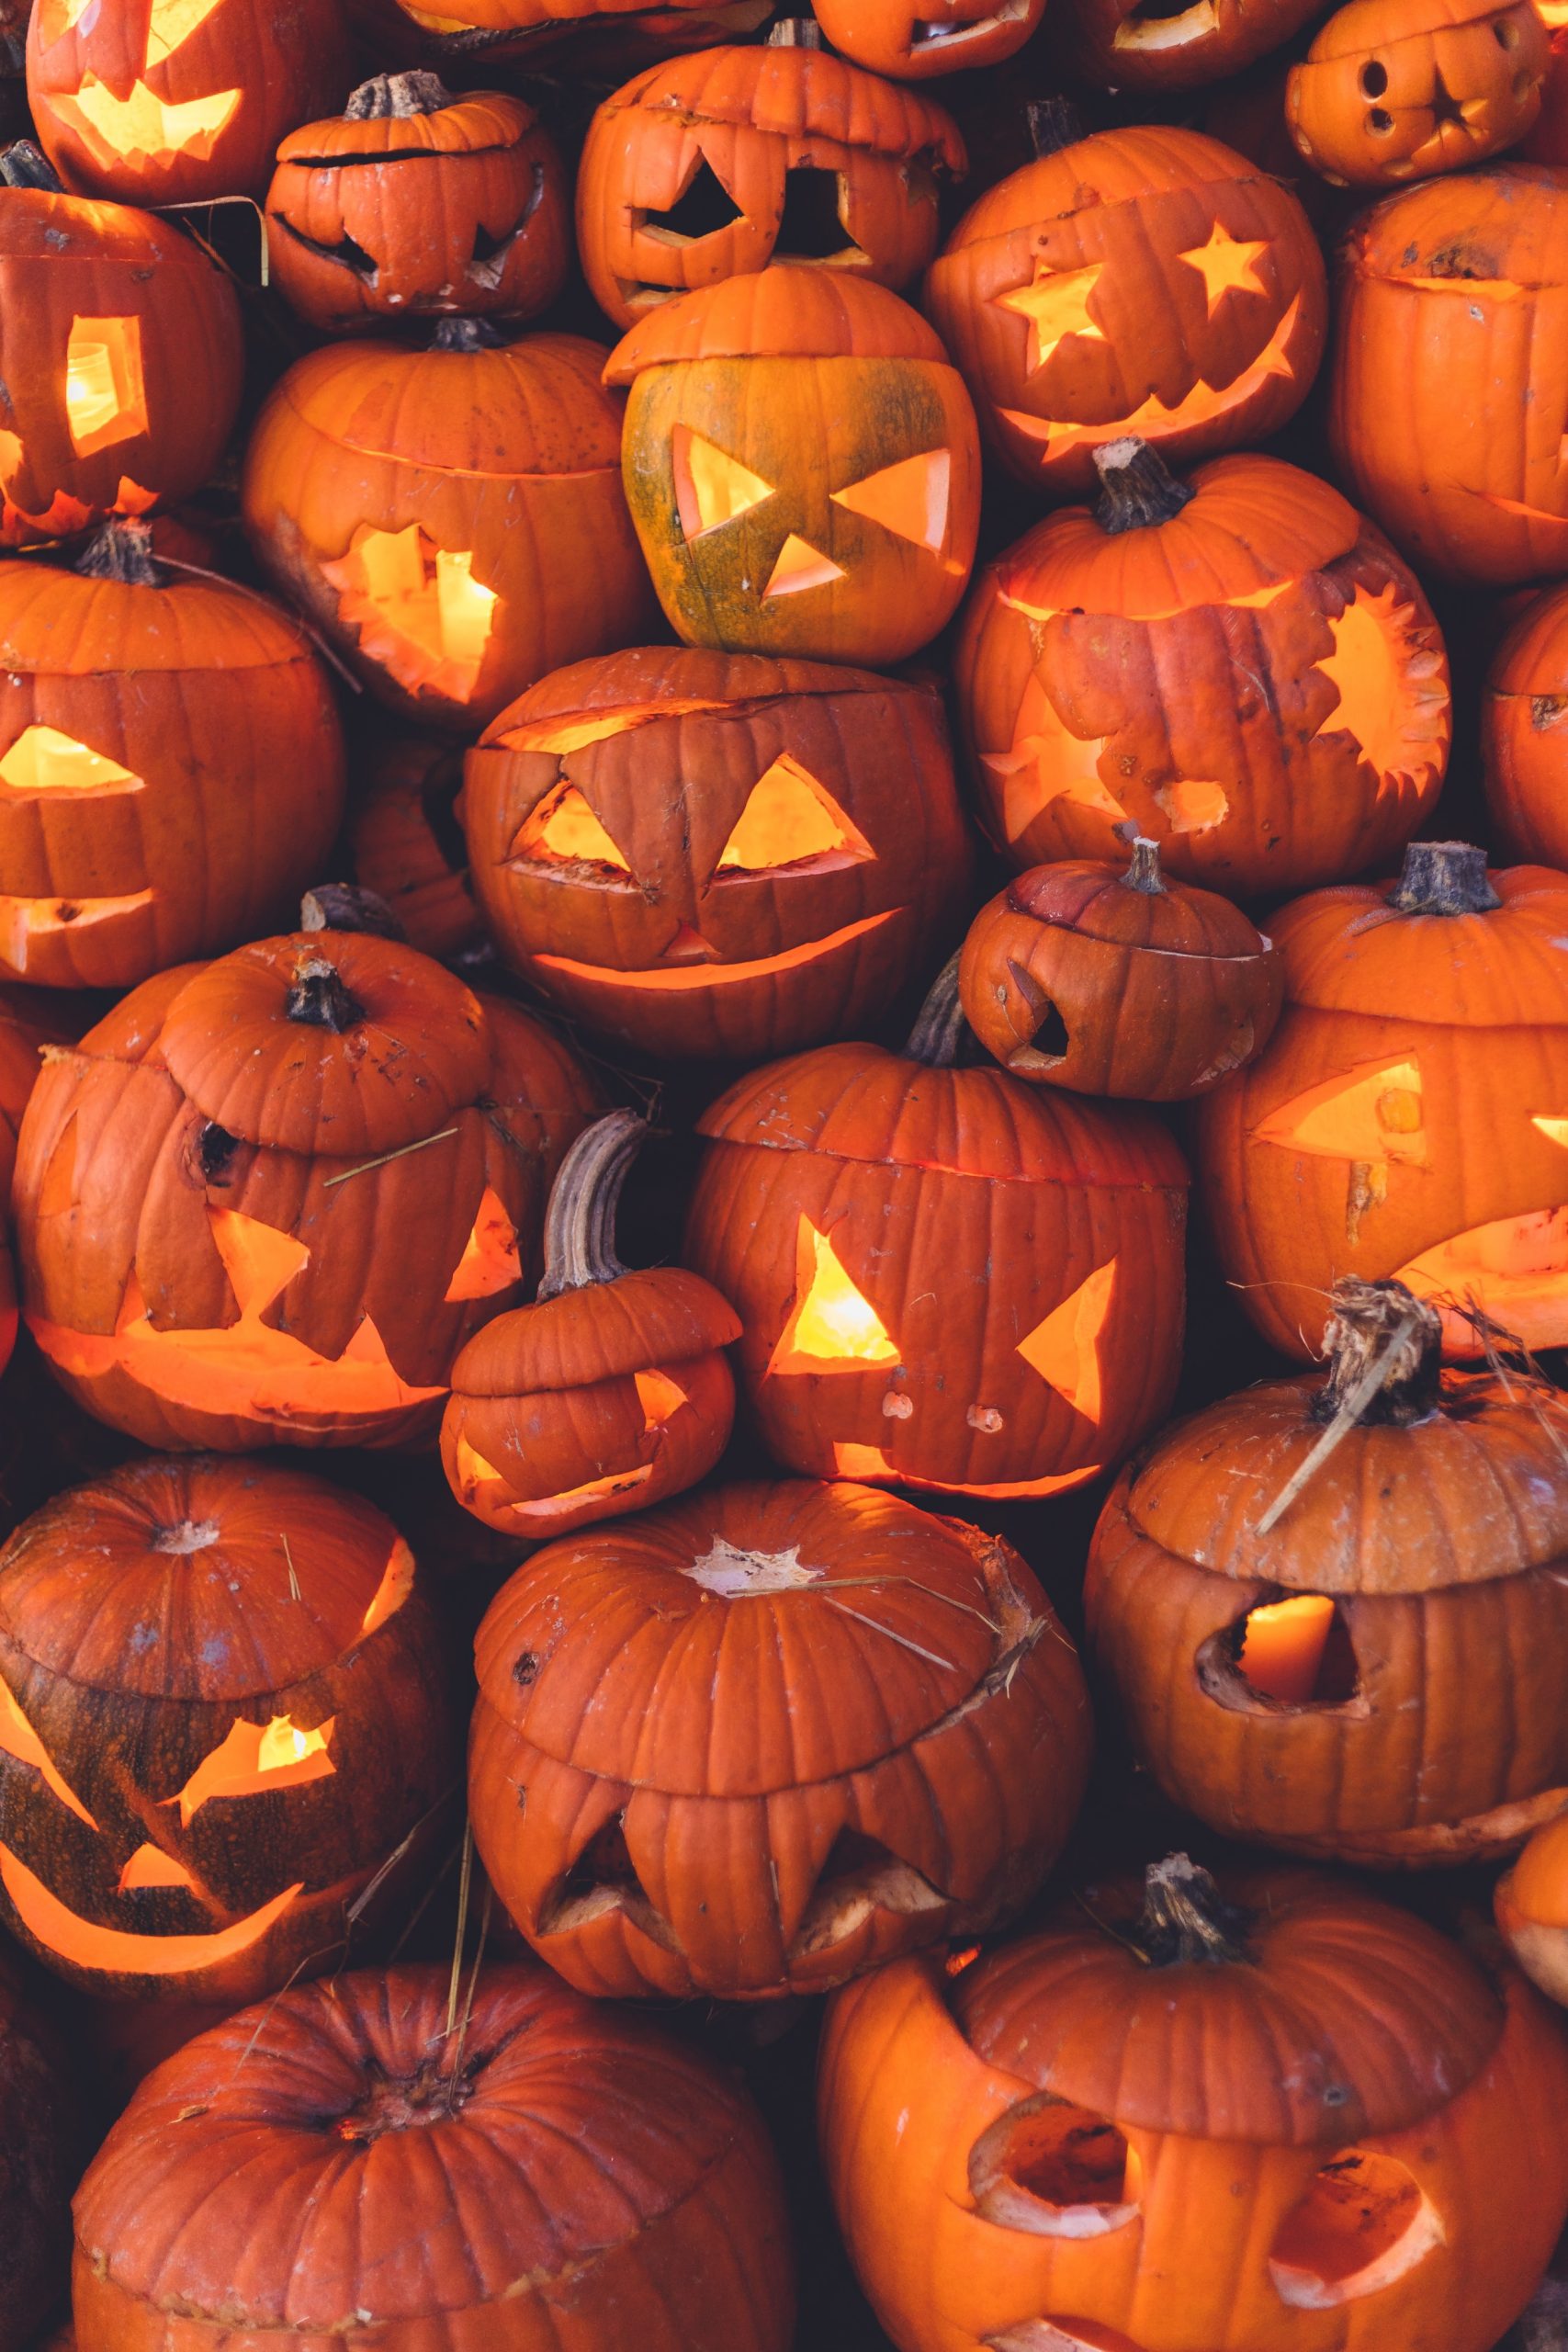
As Halloween approaches, those who get in the spirit of celebrating will know that the time-honoured tradition of pumpkin carving takes center stage in our homes. The creative possibilities are endless, and with the right guidance, you can turn an ordinary pumpkin into a spooktacular work of art.
Here are some tips and tricks to help you carve the perfect Halloween pumpkin:
1. Choose the right pumpkin
Start your carving adventure by selecting the perfect canvas. Look for a pumpkin that is fresh, firm, and free from blemishes. A flat base will help your pumpkin sit securely.
2. Gather the right tools
A successful pumpkin carving session begins with the right tools. You’ll need a pumpkin carving kit or some key tools, including a serrated knife, a scoop or ice cream scoop, and various carving tools with different tips for detailed work.
3. Plan your design
Before you dive in, plan your pumpkin design. Simple faces are classic, but don’t be afraid to get creative. Stencils are widely available and can be a helpful starting point for intricate designs. Just tape your chosen stencil onto the pumpkin, and trace the pattern with a pen or marker.
4. Work safely
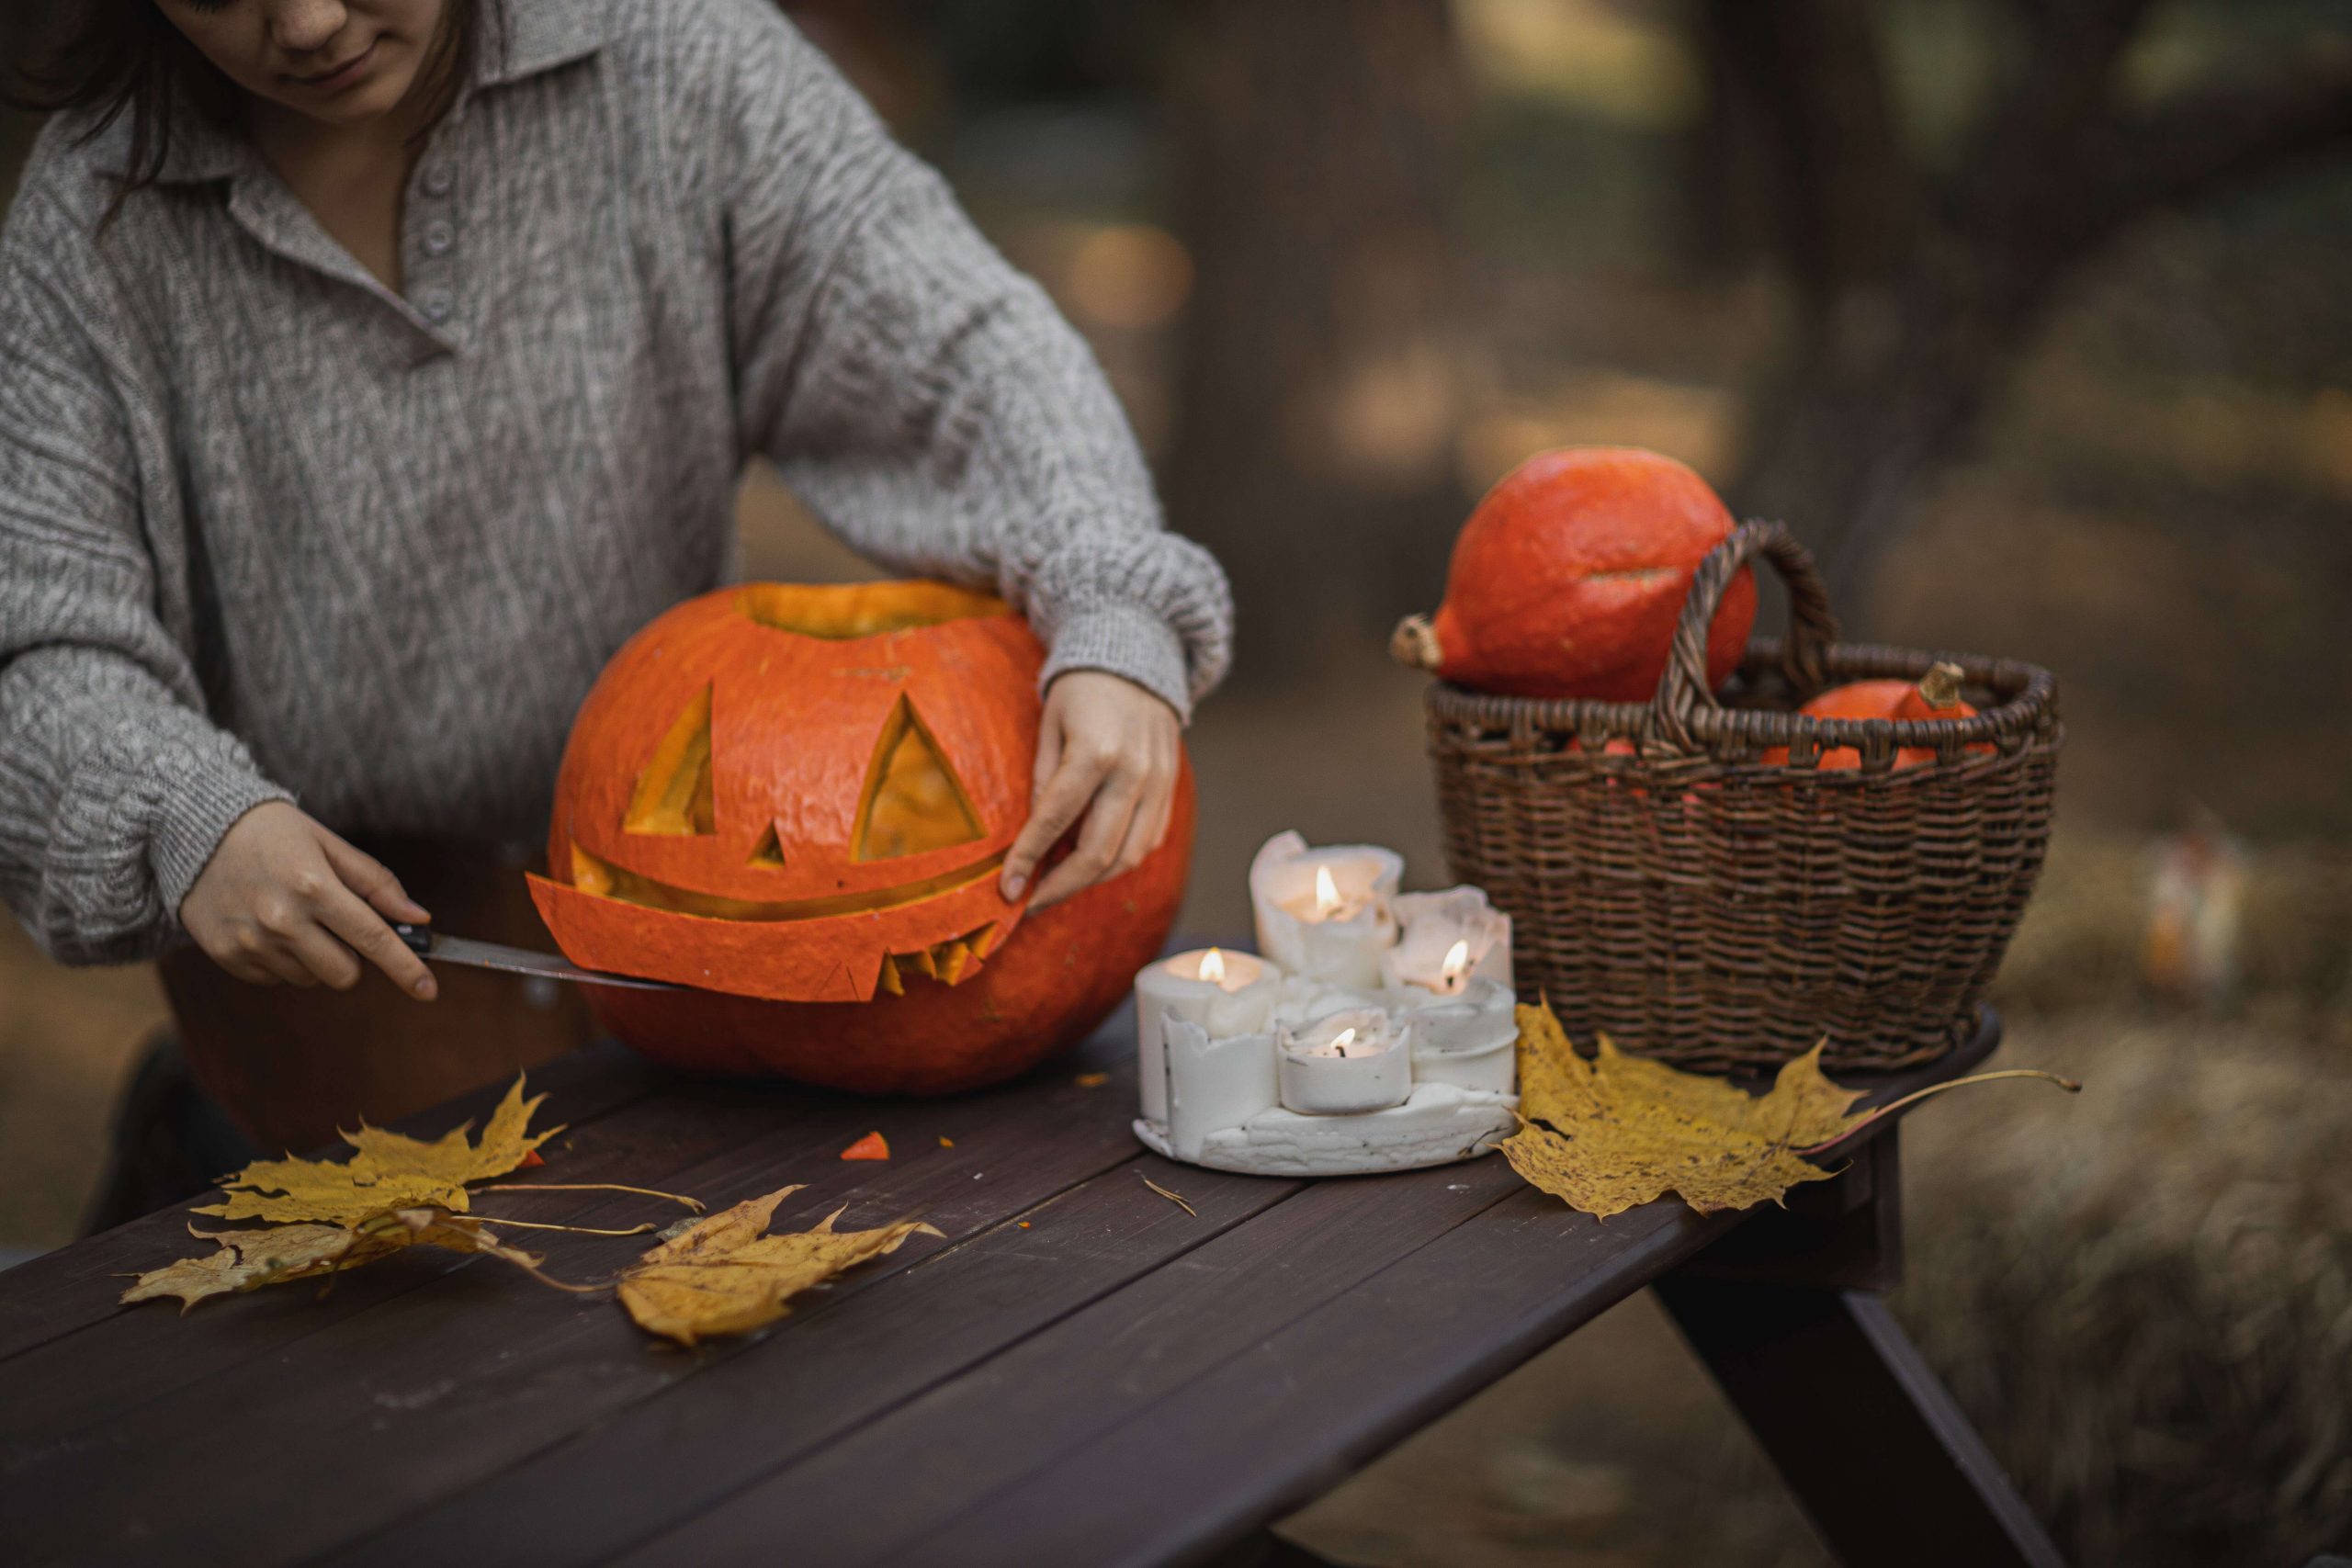
Safety is paramount when carving pumpkins. Always supervise children, and use age-appropriate tools. When cutting, angle your knife slightly inward to create a “lid” for your pumpkin. Remove the lid by cutting at an angle to prevent it from falling inside.
5. Scoop with care
Scooping out the pumpkin’s innards is a messy but essential step. Use an ice cream scoop or a pumpkin scooper to remove the seeds and pulp. Save the seeds for a tasty roasted snack!
6. Carve mindfully
Take your time when carving. Start with the small, detailed sections first. It’s easier to make corrections on smaller areas. Work from the center outward, gently pushing carved pieces into the pumpkin for easy removal.
Tips for care taking and decorating your Halloween pumpkin:
1. Preserve your creation
Pumpkins can quickly wither and mold, so preserving your masterpiece is crucial. Coat the cut edges with petroleum jelly or a dedicated pumpkin preservative, and keep your creation in a cool, shaded area when not on display.
2. Illuminate creatively

Light up your carved pumpkin with either traditional candles or safer LED lights. Consider using coloured bulbs or placing your pumpkin on a reflective surface to enhance the spooky effect.
3. Get experimental
Don’t be afraid to experiment with different carving techniques. Try etching designs by scraping off just the pumpkin’s outer skin for a subtle, glowing effect. You can also create unique textures by varying the depth of your cuts.
Carving a pumpkin for Halloween is a delightful way to express your creativity and get into the spooky spirit of the season. With these tips and tricks, you’ll be well on your way to creating a ghoulishly good pumpkin that will light up your Halloween night. Happy carving!
ALSO SEE: Pumpkin recipes to repurpose your Halloween décor
Feature image: Unsplash