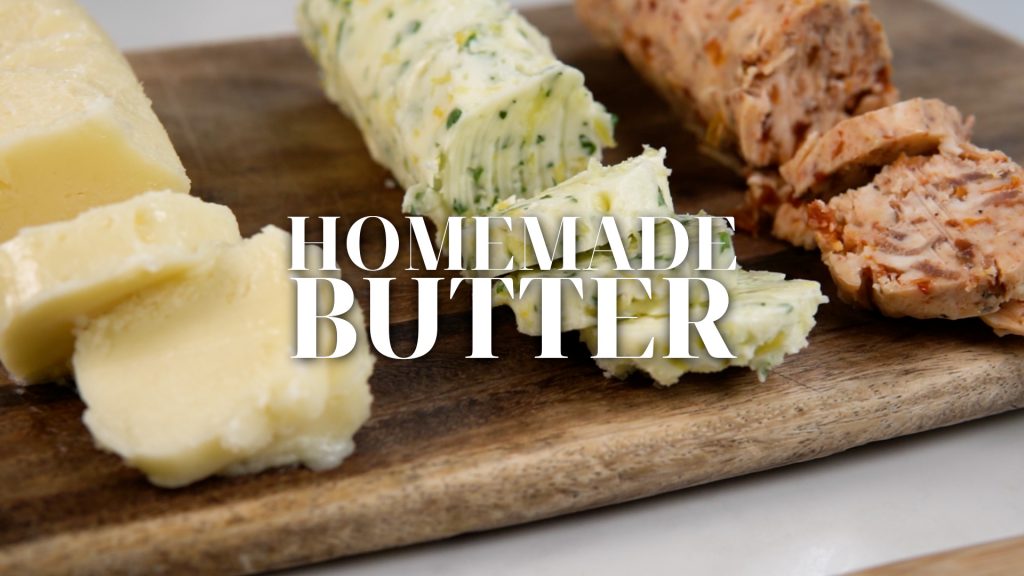
Making homemade butter has never been easier!
We all love butter; melted, whipped, creamed, browned, it can be used in almost any cooking or baking. Butter adds a tenderness to baked goods, a richness to savoury cooking, and overall a feeling of comfort and warmth to our food experience.
Butter is perfect for helping to enhance and support other key flavours in cooking, but what we are exploring today is how to actually make homemade butter! All you need is some full fat cream, salt, and a mixer of some kind ( stand mixer or hand mixer) – or a really strong will if you want to whisk by hand! (where there’s a will, there’s a whey…am I right?)
We have spent our whole lives whipping cream with caution. There is a point during cream whipping where you know you’ve gone too far and it just looks sad, and curdled. The fun part about making your own butter is that we actually want to reach that stage, plus even more!
How to make homemade butter & (some fun flavour variations)
INGREDIENTS
- 1 L cream
For the flavour variations
1st flavour combination – 1 clove garlic, 2 tbsp parsley, 1 tbsp lemon zest.
2nd flavour combination – 4 pieces cooked streaky bacon, finely chopped, 8 sun-dried tomatoes, a few generous cracks of pepper.
3rd flavour combination – 2 tbsp honey, 2 tsp sea salt.
METHOD
ADD your cream to your mixing bowl and start whipping. After about 3 minutes, you will reach an over-whipped cream stage, keep going until the butter begins to separate and clump up, it will leave the byproduct, buttermilk, behind. After about 6 minutes you’ll have fully separated butter.
TO separate the the butter from the buttermilk you will need a sieve and ideally a cheesecloth. Place the contents of your mixing bowl into the cheesecloth placed over a fine mesh sieve set on a second bowl and twist the excess cloth to enclose. Begin to squeeze with some good force to remove any remaining buttermilk. You can use your hands for this if you don’t have a cheesecloth. Make sure to remove as much of the liquid as possible otherwise your butter will be wet.
ONCE you’ve removed as much liquid as possible. Place your butter into a bowl. Pour over a few cups of ice water. This washes the butter and removes any remaining buttermilk lingering behind. Use your hands to press and work the butter to help this process.
TA-DAA, your homemade butter is ready! Add a few teaspoons of table salt to the butter if you like, this gives it a natural flavour. Press your butter into a dish and refrigerate until needed.
We didn’t stop there!
NOW to flavour your butter. Divide the butter into three bowls. Add a flavour combination to each bowl and mix through until it is well combined.
CUT out a rectangle of baking paper and roll your butter into a log, twist to close the paper, or spoon into a ceramic dish. Refrigerate until needed.
Use your flavoured butter to your heart’s desire! We love using the garlic butter to make garlic loaf, the sun-dried tomato butter to baste meat when braaing, and the honey butter with baking, or smeared on a scone.
*NOTE: Remember to keep the butter refrigerated, and when using fresh ingredients like bacon or garlic in your homemade butter, use within 1-2 weeks, other flavour combinations like honey or lemon zest can last for up to 3 weeks.
Watch our video on how we made our own homemade butter below!
View this post on Instagram
Did you make this recipe? Tag us on Instagram @foodandhomesa!
ALSO SEE:


