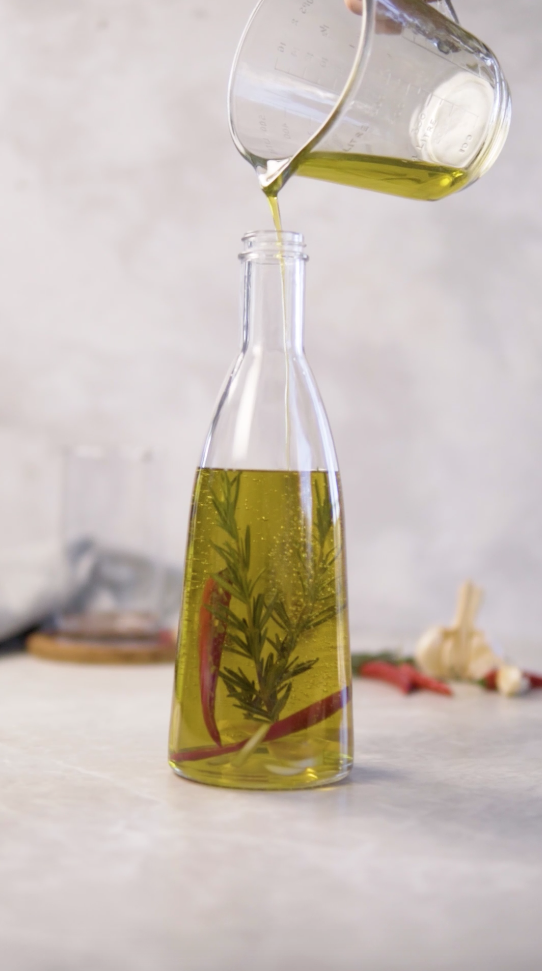
Infusing oils is a brilliant way to add layers of flavour to your favourite dishes. And they’re easy peasy to make! Simply heat together a vibrant combo of herbs, garlic, spices, chilli or even citrus peel in oil for 5-10 minutes. Infused oils can be used in salad dressings, simple pastas, marinades, as a garnish or even served with some fresh bread as a delicious appetiser.
How to infuse oils
- Grab whichever oil and infusions you’d like to use (read more below).
- Sterilise your glass bottles and lids.
- Place your infusions in a pot and cover with oil. Heat gently over medium-low heat for 5 -10 minutes until the oil starts to smell fragrant – do not let the mixture simmer as this will affect the flavour of the oil.
- Remove from the heat and set aside until cooled to room temperature, about 30 min – 1 hour.
- Strain the oil into bottles and store in the fridge.
NOTE: The oil may go cloudy from the cold temperature in the fridge. Leave it at room temperature for 15 mins to become clear and less viscous before using.
Breaking it down
Which oil?
The lighter the oil flavour, the more pronounced the infusion will be. Although extra-virgin olive oil can work in some cases, it’s usually too overpowering for more delicate infusions. Rather opt for lighter-flavoured olive oil, or make a blend with sunflower or canola oil.
Infusions
There is a rainbow of possibilities when it comes to infusion options. Mix ‘n’ match different ingredients and let the magic happen…like a ‘pizza’ inspired dried tomato, oregano & garlic oil, or an exotic star anise & orange oil.
- HERBS: Hardy herbs like rosemary, sage, thyme and bay are ideal for hot infusions. Either dry or fresh herbs can be used, although oils made with dry herbs will last longer. If using fresh herbs, lightly bruise them to extract as much flavour as possible. Also make sure they’re completely dry before using to prevent the risk of botulism. Read our food safety tips at the end of the article for more information.
- CITRUS PEEL: Lemon, orange or lime zest can add a delightful floral, zingy note to your oils. Wash and scrub the fruit well before using, then slice off strips of the peel; remove any bits of the bitter white pith.
- SPICES: Whole spices, like peppercorns, cinnamon, cardamom, coriander seeds or star anise, add extra complexity to infused oils. Ground spices, like turmeric or chilli powder, can be used as natural colourants. Add them after the oil has been heated to prevent them from overcooking, then strain through muslin or a coffee filter once cool to remove any sediment.
- GARLIC: Use smashed, peeled cloves of garlic to infuse your oil; strain and use the garlic for other applications. Never store garlic in infused oils to prevent the risk of botulism.
- CHILLIES: We recommend removing fresh chillies from the infused oil before storing to increase shelf-life. Alternatively, use split dried chillies or even dried chilli flakes. You can even use slices of fresh ginger for a different kind of spicy kick.
A note on food safety & botulism
The water content in fresh ingredients, like herbs, chillies, lemon zest and garlic, can lead to the growth of C. botulinum, a bacteria that produces the toxin known for causing botulism. Although botulism is uncommon and toxic levels of C. bot take time to develop, it is important to understand the causes and follow our food safety tips. If using fresh ingredients, make sure they are completely dry before using, and store the completed oils in the fridge. The use of fresh ingredients significantly reduces the shelf-life of the infused oil; use them fairly quickly, ideally within a week.
To cut out the potential of C. bot growth, use dried ingredients instead of fresh, or acidify fresh ingredients in a citric acid solution prior to infusion.
Tip: To dry out whole fresh herbs, tie the stems into a bundle and hang them upside down in a mesh produce bag in a warm, dry part of your house. Keep checking on the herbs until they are dried – this can take up to a few weeks.
ALSO SEE: How to make kimchi


