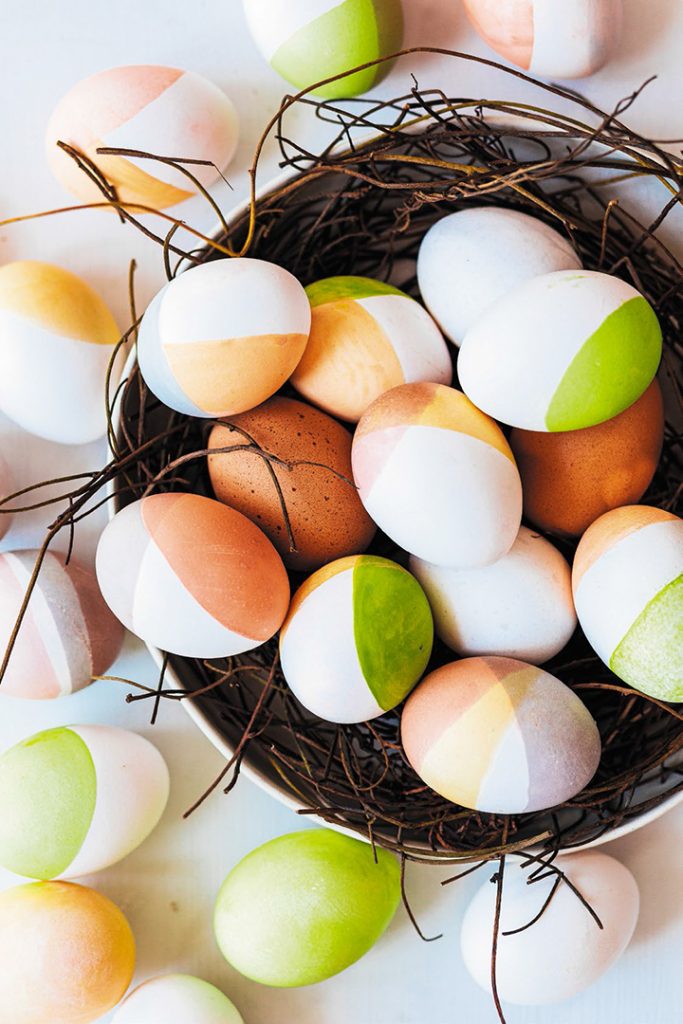
Reimagine your leftovers and left-outs for the prettiest Easter decorations ever…
WORDS AND STYLING BY SARAH-JANE WILLIAMS
PHOTOGRAPHS BY KATELYN ALLEGRA
WHAT YOU NEED
white and brown eggs
carpenter’s nail
500ml (2 cups) water
2 tbsp vinegar
muffin pan/small bowls, to dye (use items you don’t mind staining)
liquid food colouring, in hues of your choice
wooden sticks/spoons, to stir
disposable gloves
paper towels
STEP ONE
For edible eggs, boil the eggs in a pot of water on high heat for 8 – 10 mins. Drain the water and allow the eggs to cool completely before dyeing.
For decorative eggs, pierce the bottom and top of each raw egg with a nail, making small holes. Blow the contents of each egg out into a bowl. Reserve for other use.
Once an eggshell is empty, rinse it under clean running water. Allow the eggshells to dry completely before dyeing.

STEP TWO
Bring the water to the boil in a small saucepan on high heat. Add the vinegar and stir. Divide the water among the muffin pan holes/small bowls, filling each about 1,5cm.

STEP THREE
Gradually, drop by drop, add different-coloured liquid food colourings into each of the bowls. Stir with a wooden stick/spoon. Wearing gloves to protect your hands from staining, test each dye colour by folding up a paper towel and dipping it into the coloured water.
Working with one egg at a time, dip one side of the egg into the dyed liquid. For lighter, pastel shades, hold the egg steadily in place while in the dye for several seconds.
For darker, more saturated colours, keep the egg in the dye for about 1 minute. Lift the egg out of the dye and dry with paper towel. Repeat the dipping process with a second and third colour, as desired, covering different parts of the egg.


