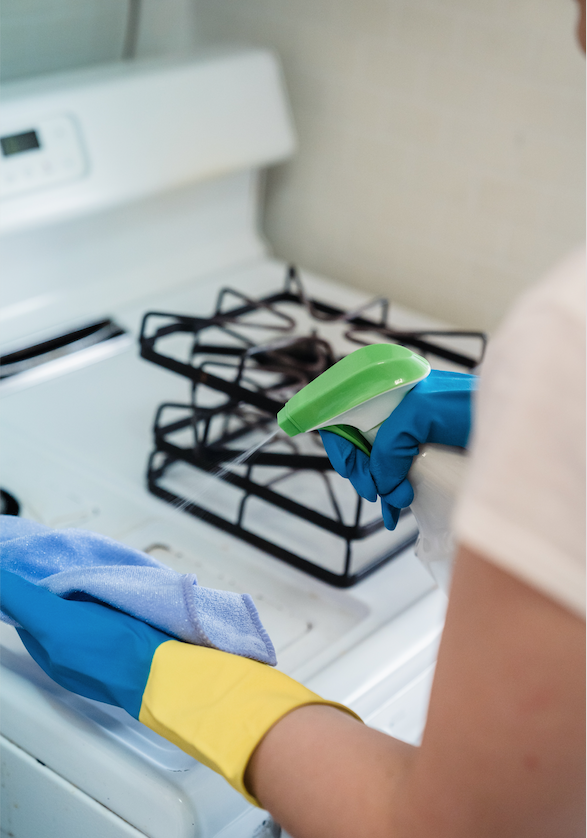
Although cleaning your oven is a great “angry cleaning” activity, it shouldn’t only be done when you’ve reached boiling point. Not many people can say that they enjoy cleaning their oven. It is, however, a necessary task that needs to be tackled regularly. If you don’t the build-up will not only be, let’s face it, gross but harder to clean.
First things first, here’s what you’ll need for oven cleaning:
- Oven cleaner
- Rubber gloves
- Sponges
- Scourer
- Old toothbrush
- Resealable plastic bags
- Washing up liquid (optional)
Just a quick note on the oven cleaner: If you can, try to use a product that is caustic-free. You will still be able to remove any tough stains that you may come across while not running the risk of damaging anything in your kitchen. However, should you choose to go the caustic route, be sure that the area in which you are working is well ventilated as to avoid inhaling any harmful chemicals.
Step 1 – Get Started
It goes without saying, but be sure that the oven is both off and cool before you start cleaning it. Armed with your rubber gloves, clear the oven of any bits of food that may be laying in it.
Step 2 – Time for a Soak
Remove the shelves and place them in a tub of warm, soapy water to soak. This will help to break down any burnt-on residue that can’t easily be removed. If you have the time, leave it to soak overnight before scrubbing the oven racks on both sides and rinsing.
If you’re rushed for time, spray the oven rack with your chosen oven cleaner, place it in a plastic bag, close it and let the cleaner do its thing.
While you’re waiting, spray the inside corners of your oven with oven cleaner, allowing it to soften any stubborn stains.
Step 3 – Inside Clean
With a damp cloth, wipe the inside of the oven once all (or most) of the burnt-on food is soft enough to be removed. Rinse your sponge and repeat. Do this until the oven is as clean as you can get it. Don’t fret if you can’t get it sparkling by this time, a mixture of bicarb paste on the stubborn bits, left to soak will help with it. Remember to clean the hard to reach corners with a trusty old toothbrush to ensure an overall clean.
Step 4 – Glass Door
There’s no point in having a spotless oven and a filthy oven door. Using a solution of oven cleaner and hot water, carefully scour the glass to remove any nasty grease and oil buildup. Rinse with warm water and repeat if needed. As you can imagine, this could be a messy procedure, so placing towels on the ground beneath your oven door is recommended for easier cleanup.
THE LITTLE THINGS
Tiny changes can make a huge difference when it comes to cleaning your oven. Try some of these to prevent your next clean from being a massive undertaking:
- Line the bottom of your oven with foil to catch any food that may fall while cooking.
- Roast fish and meat in roasting bags to try and cut down on the amount of fat spattered while cooking.
- Place a heat-resistant bowl of water in your oven on medium heat when you’ve finished cooking. Leave for 20 minutes and, once completely cooled, wipe down it down with a damp cloth.
Feature image by Liliana Drew from Pexels.
Now that your oven is spotless, why not bake this delicious 3-layer rose petal cake?
https://www.foodandhome.co.za/on-shelf/3-layer-rose-petal-cake

