
If you’ve noticed spots of black mould growing around some of your basins, the bath or the bottom of your shower, it’s important to move fast – before it spreads even more. Black mould spores are hazardous and potentially life-threatening to your lungs when left unchecked.
Although some areas of your home won’t be affected, there are many others that are unfortunately prone to its spread. Areas with poor ventilation and high moisture, like the kitchen basin, bathtub, and shower, will almost always be at risk for mould growth. You’ll notice the mould sticking to the sealant around basins, baths and in the corners of showers.
Use our cleaning guide and discover how to remove black mould from silicone sealant around your home.
First up, what is black mould?
In the food and health sphere, mould isn’t always a bad thing (thank goodness for blue cheese and penicillin) – but it’s not something revered in the cleaning sphere. Especially if it’s black and in an area you use constantly, like the shower or kitchen sink. Black mould, also called Stachybotrys, has a patchier shape and lighter tone than other common moulds.
The danger with this type of mould is that it gives off spores, a process called “off-gassing”, to make you stop bothering it. Whenever you touch or wipe it, you might notice some sneezing, coughing or watery eyes. To be clear, the gunk you find in the corners of showers or bathrooms that you can easily wipe away and clean is most likely mildew and soap scum buildup. Black mould tends to be slimy or fuzzy and becomes powdery when dry.
It grows in areas that are constantly humid, wet and poorly ventilated. Any place with a slow drip, or little to no breeze, like around the kitchen sink or in bathrooms, you might spot a patch. When you find it growing on or inside silicone sealant, it means that those areas aren’t dry enough, or the sealant is old and coming away from the wall – making it more impenetrable.
If, however, you find large patches of black mould growing on the floor under cupboards or other items, or across walls, the best thing to do is cover it with plastic (making sure to tape down the edges) and call in the professionals. You will be more at risk of inhaling its spores when trying to wipe it clean from these surfaces. Rather stay safe than be sorry and get the pros to handle this type of growth.
How to remove black mould from silicone sealant
First things first: you need to assess the severity of your black mould situation.
- Mild: you notice a few spots here and there, and the silicone sealant is still flush with the surfaces it’s attached to (i.e. it’s still waterproofing the area it surrounds)
- Medium: you notice black mould covering a corner or three or four larger patches around the edges of basins, bathtubs or shower units; the sealant is still flush with the surface
- Severe: you see black mould almost taking over the sealant and corners; the sealant is old and peeling away from the surfaces it’s used on
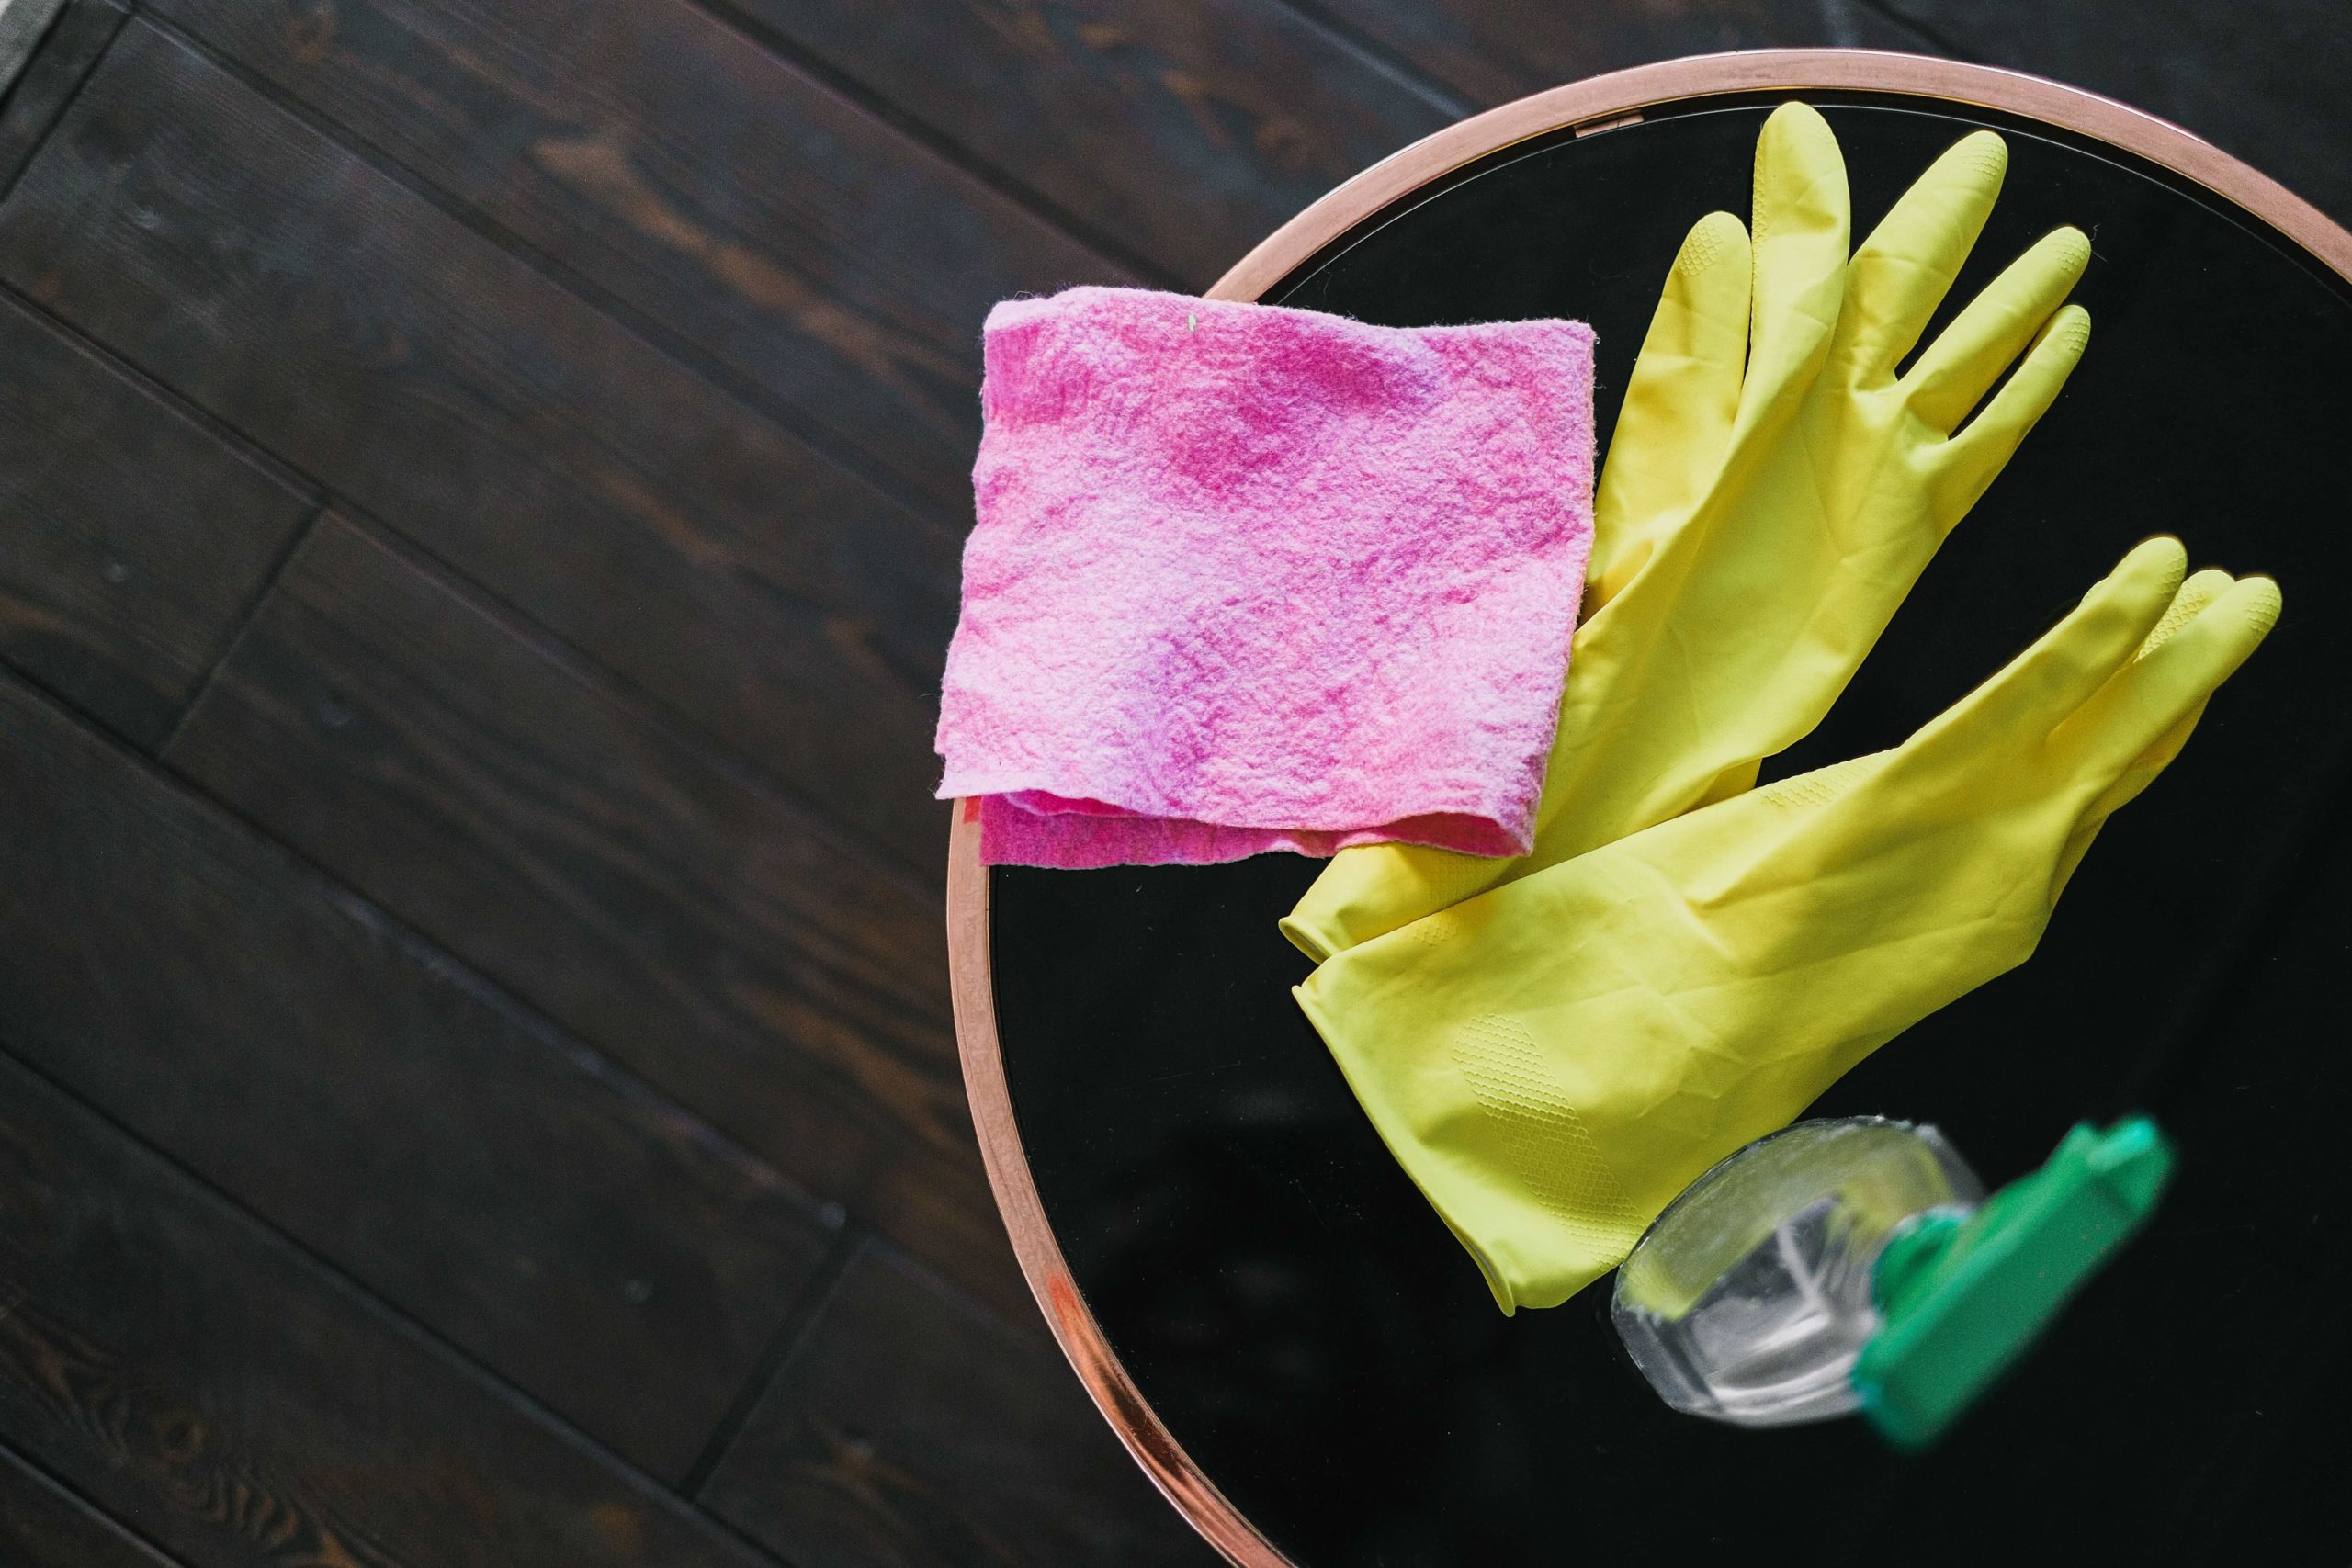
Materials you’ll need:
- Rubber gloves
- Glasses/goggles/any protective wear you have on hand
- A mask
- A sponge
- A soft-bristled brush
- A spray bottle half filled with water
- Distilled white vinegar
- Liquid dish soap
- Bicarbonate of soda
- OR bleach and some kitchen paper towels
- OR your preferred chemical cleaning agent that specifically cleans moulds
- A dry microfibre towel
Before you start cleaning, always open as many windows and doors as you can to ventilate the area of cleaning fumes and mould spores. Also, don’t forget to put on the gloves, eye wear and mask!
Mild scenario: Our step-by-step cleaning guide
- Fill the rest of the spray bottle with the vinegar and a drop or two of dish soap.
- Spray the mixture directly onto the mouldy surface (be generous) and leave it to sit for 15 minutes or a couple of hours, if you have the time.
- Generously spray the area again and scrub it using a sponge or brush. Ensure you scrub in circular motions over the whole area.
- Rinse the area with clean water and wipe it with a cleaned, dampened sponge to remove any remaining vinegar solution.
- Use the dry microfibre cloth to buff the area bone dry. Keep windows of the room open, and shower curtains or doors open, too, to help.
Medium scenario: Our step-by-step cleaning guide
- Gently wipe away any loosened sealant with the sponge or brush.
- Fill the spray bottle with a drop or two of dish soap and a tablespoon or two of bicarbonate of soda. Generously spray the area with this mixture.
- Scrub the area with the sponge or brush for a good 5 minutes, working in circular motions.
- Rinse with water and blot dry.
- Now pour an even layer of bleach onto the area. Lay folded kitchen paper towels on top of the bleach, ensuring it’s fully covered. Pour another layer of bleach over the paper towels to soak them. Let this sit for at least 30 minutes, or 2 hours if you have time.
- Wipe away the bleach-soaked kitchen paper towels and rinse the area with water. Use a dampened brush or sponge to ensure all bleach residue has been rinsed off.
- Use a dry microfibre cloth to buff the area dry. Keep windows and doors open for a few more hours to help dry and ventilate the area further.
Severe scenario: Our step-by-step cleaning guide
- Gently wipe away any loosened sealant with the sponge or brush.
- Pour an even layer of bleach onto the area. Lay folded kitchen paper towels on top of the bleach, ensuring it’s fully covered. Pour another layer of bleach over the paper towels to soak them. Let this sit for 30 minutes at least, or 2 hours if you have time. Or, generously spray a chemical cleaner specifically made to clean mould onto the area and let this sit for 30 minutes at least.
- Wipe away and rinse the area of bleach or chemical cleaner. Use a dampened brush or sponge to ensure all bleach residue has been rinsed off.
- Now, inspect the area. Has most of the mould been removed? Is the sealant still flush with the surface, or is it pulling away?
- If the answer is yes for any of the above, then it’s time to strip the sealant and redo it. But calling the pros might be a better option for getting rid of any mould that’s growing beyond the corners and outer edges of the shower or bathtub.
The last thing you want after redoing the sealant yourself is for the black mould to come back. Ensure the area is cleared of the mould, sufficiently dried out and redone with a waterproof and mould-proof sealant.