
Follow our easy step-by-step guide to carve your roasted chicken neatly and confidently.
With just a few kitchen basics and the right order of cuts, you’ll get neat slices, juicy results and zero waste.
What you’ll need
Stay true to the pro method and set up a carving station to ensure your success with:
- A large, sturdy cutting board (with a groove to catch all the tasty juices)
- Sharp chef’s knife (a boning knife or carving knife is even better, but not essential)
- Bowl or container for bones, scraps, and the carcass (use to make stock or broth later)
- Serving platter
Pro tip: Place a damp cloth under the board to stop it from sliding while you carve.
Our step-by-step carving routine
1. Let it rest
Rest the roasted chicken for 10 to 15 minutes, covered with foil, to allow the muscles to relax, heat to redistribute, and the juices to redistribute for a juicy, tender result.
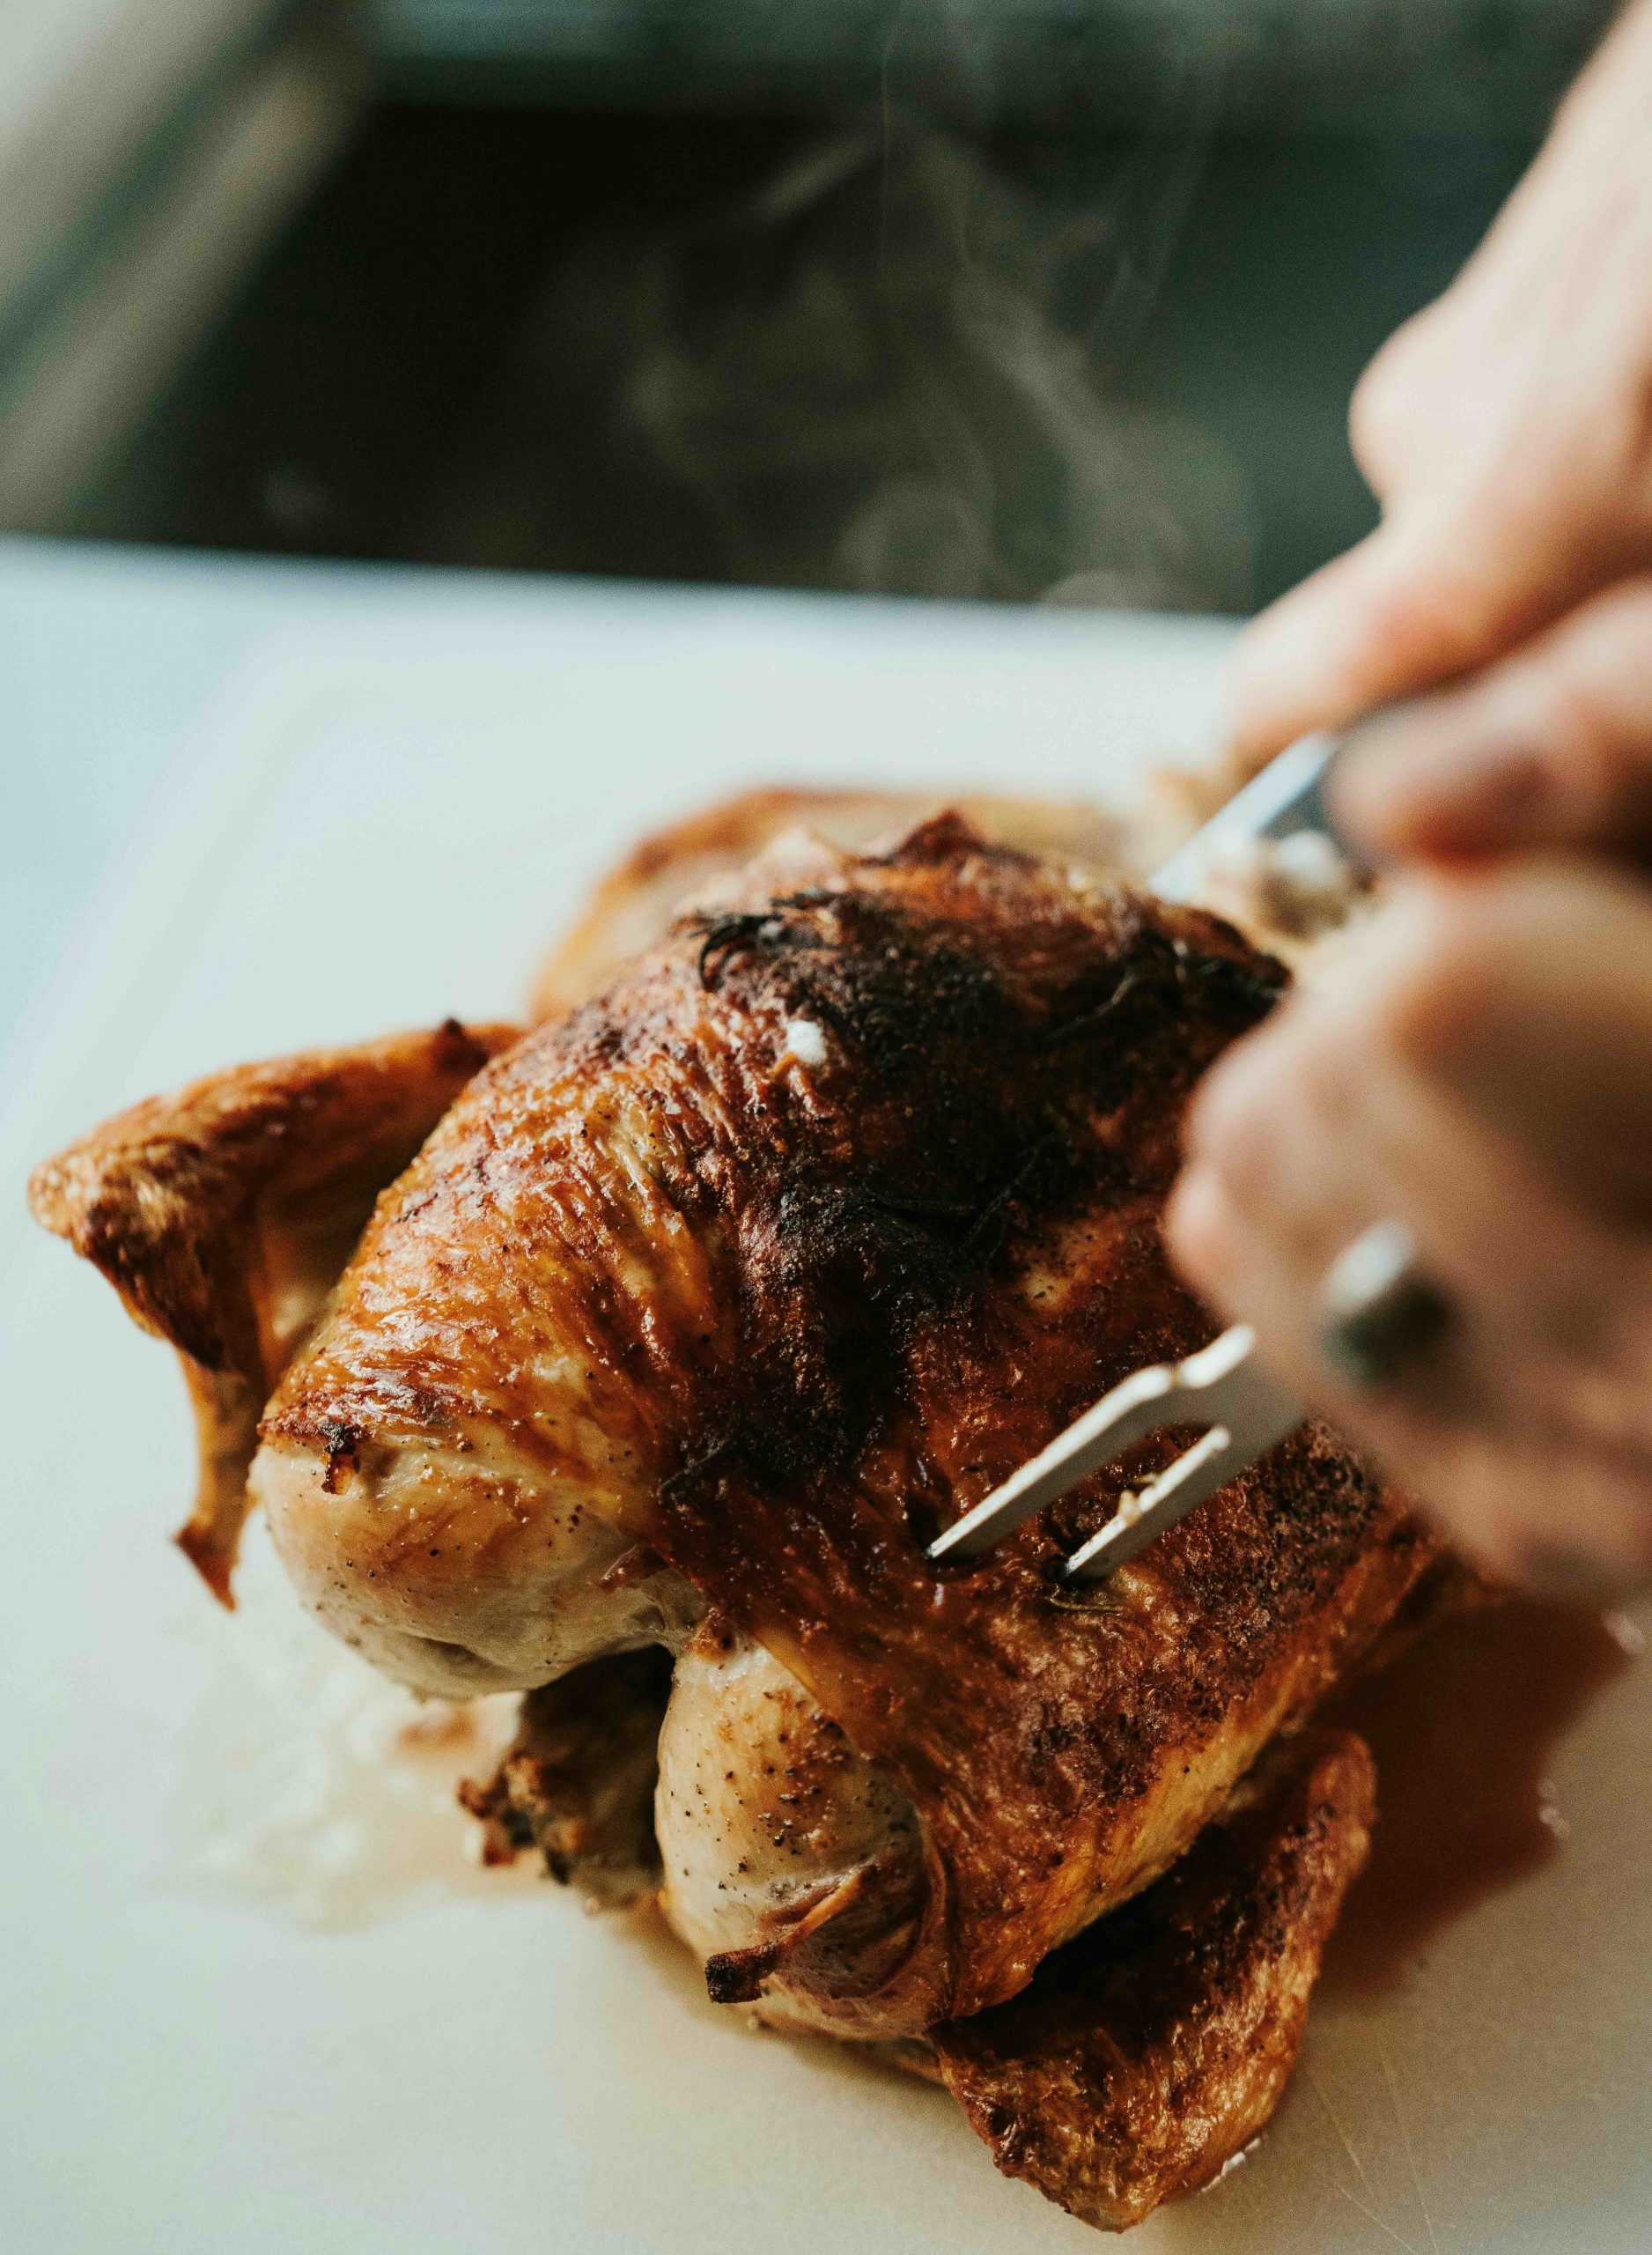
2. Remove the legs
Use your knife to slice where the skin connects the breast to the leg. Use your hands to gently pull the leg and thigh outward, away from the breast, until you hear a pop or see the joint dislocating. Hold the leg steady and slice cleanly between the joints through the skin. You shouldn’t feel any resistance, but if you do, reposition the knife. You will find the sweet spot between the joint and the bone. Repeat this process for the other leg.
3. Carve the legs
When serving a large group, it’s nice to break down the leg and thigh pieces, so every guest has a varied selection of cuts. Separate the drumstick and the thigh by bending and overextending the drumstick from the thigh, breaking the connection to expose and dislocate the joint. Use your knife to find the sweetspot and slice cleanly through. Repeat this process for the other leg.
If you’d like to take it one step further, you can debone the thigh. Use your knife to slice gently alongside the thigh bone that runs vertically through the meat. Cut alongisde and around it, easing out the thigh bone as you go. Serve as is, or slice into thick pieces.
4. Carve the breast
The breasts are connected by the breastbone, which runs down the bird vertically. Use your fingers to find it first, and then your knife to slice down, parallel to it, until you hit some resistance – the ribs. Then slice down alongside the bone until you free the tip of the breast. Next, use your fingers to gently pull the breast meat away from the ribcage to give you a better view. Use your knife, angled outward away from the breast bone, slicing the breast meat by following the natural curve of the ribcage. Slice down, alongside the ribcage to free the breast and the wing. Repeat the process for the other breast.
5. Carve the breast
First, remove the wing from the breast. Just like you did with the leg, bend and overextend the wing cut to dislocate the joint. Slice through the sweetspot to detach the wing from the breast. Repeat for the other breast.
Serve the breasts as is, or slice into halves, or thick portions.
6. Carve the wings
While a whole chicken has two wings, they’re each made up of a drumette, wingette and wing tip. Since you’re carving, you have the final say about portioning. Keep the wings whole or break them down further. To do this, use your fingers to find the first joint connecting the drumette and wingette. Gently bend and overextend to dislocate, and finally slice through. If you’d like to break the wingette down further, find the joint connecting the wingette and the wing tip. Since it’s quite small, use your knife to slice through the centre of it, separating the two parts. Repeat the process for the other wing.
7. Arrange the pieces
Arrange your slices and cuts of roast chicken onto your serving platter. Remember to collect all those extra, tasty juices from the board to add to your gravy, or pour over the meat on the platter (it gives it a marvellous sheen).
Ready to serve!
You are now ready to present your masterpiece to your guests. Don’t forget to brag about your pro carving skills, too. Add any remaining bits of meat clinging to the carcass to soups, stocks, sandwiches, casseroles or as pizza toppings. Freeze your container of bones to make stock, gravy or soup at a later date.