
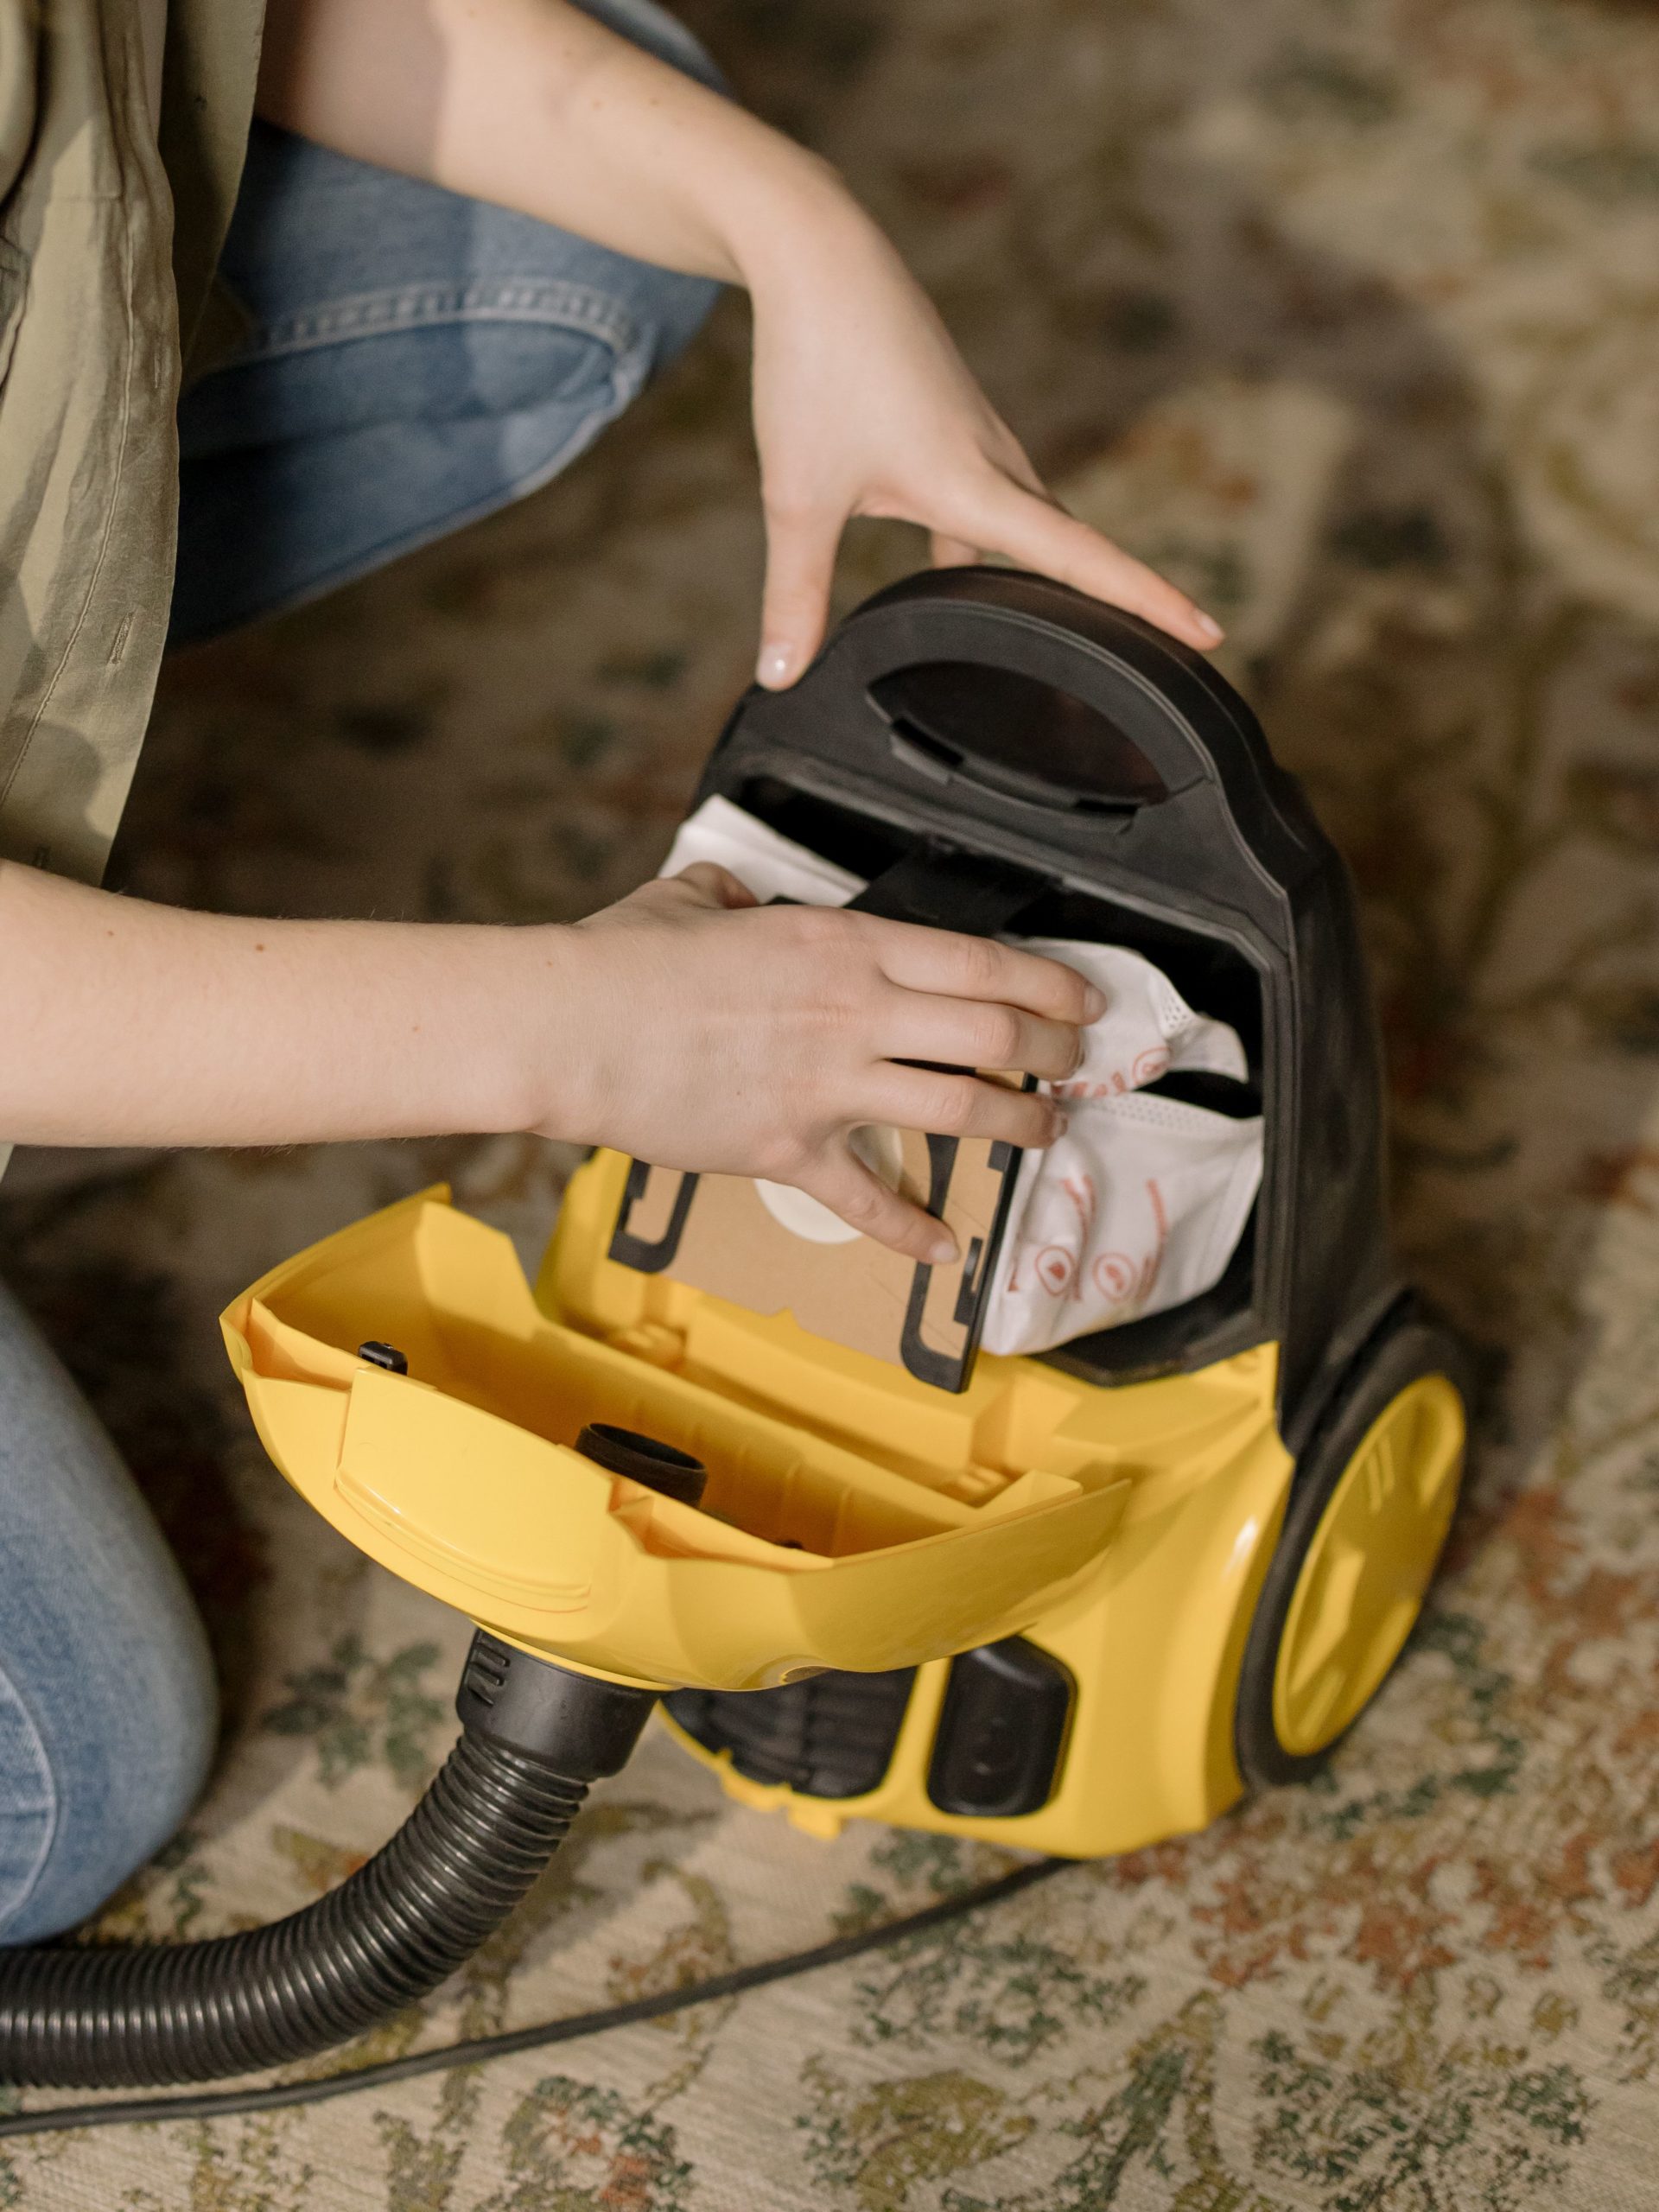
Yes, you read that right. Even your vacuum cleaner needs a deep clean every once in a while. Without it, filters will get clogged, brush attachments enmeshed with hair, and odours that start to linger a little too long. Luckily for us, a deep cleaning session shouldn’t take more than 20 minutes, and will most definitely keep your vacuum cleaner running for much longer, compared to all the vacuum cleaners that don’t get as close to a clean, let alone a deep clean.
We’ve put together an easy-to-follow deep cleaning guide for you to get the most out of your vacuum cleaner and keep your home fresh and dust-free.
How to deep clean your vacuum cleaner
As every vacuum cleaner is different, we suggest following your manufacturer’s care and cleaning manual alongside our deep cleaning steps to avoid any unnecessary damage to the vacuum cleaner.
How to know your vacuum cleaner needs a deep clean
If you’re not sure if your vacuum cleaner needs a deep clean, then these tips should come to good use:
- It’s been 6 months since the last deep cleaning session
- You’ve never deep-cleaned your vacuum cleaner
- It seems weaker than it was when you bought it
- You have to go over the same spot more than a couple of times for it to be cleaned
- Your vacuum cleaner shuts off abruptly (this is probably a fail-safe measure to prevent parts from overheating)
- It smells
What you’ll need:
- A couple of microfibre cloths
- Soft-bristled brush or a clean, old toothbrush
- Dishwashing soap
- A bucket filled with water
- Tweezers and scissors
- Bin bag
- Optional: mask and gloves for working
Our easy-to-follow deep cleaning guide
Step 1: Disassemble the vacuum cleaner
Follow the user manual and disassemble your vacuum cleaner. Set aside the parts that can be washed with water (usually the dustbin or drum, filters, hoses and other attachments), and those that cannot (like the main body of the vacuum cleaner and other electrical parts).
Step 2: Empty the vacuum cleaner
Use the bin bag to empty the dustbin or drum. Use a soft-bristled brush to get as much dust and grime out of these as possible. Then use the brush to gently clean the filters.
Next, check all the attachments and the main head or brush roller for hair buildup. Use the tweezers to gather as much as possible before pulling the clump out. If you’re struggling, and the attachment doesn’t open further, use the scissors to detangle the clump.
Step 3: Clean all the vacuum cleaner parts
Wash all the washable parts and attachments in a bucket with soapy water. Use an old toothbrush or other soft-bristled brush to gently scrub away dust, dirt and grime. Use a toothbrush to help clean hard-to-reach areas. Wipe clean with a microfibre cloth and set aside to dry.
Use another microfiber cloth and dunk it into soapy water. Wring it out (ensuring it’s damp and not sopping wet) and wipe the non-washable parts of the vacuum cleaner. Set aside to dry.
Step 4: Leave the washed parts to dry completely
This step cannot be more important. Wiping vacuum cleaner parts dry with a microfibre cloth is good, but not good enough. You need to leave the cleaned parts to air-dry for at least a couple of hours in a warm area (not in direct sunlight) to dry completely. The last thing we want after a deep clean is for a drop of water to short-circuit the vacuum cleaner!
Step 5: Replace the filters
Unless otherwise stated by the manufacturer, your vacuum cleaner will probably need new filters every 6 months to a year. Replace as many as your user manual instructs you to.
Step 6: Reassemble and test the vacuum cleaner
Reassemble the washed and dried parts of the vacuum cleaner, making sure everything clicks back into place. Then test it. Check if everything works as it should, clearing out any leftover clogs as you come across them. If, after this, your vacuum cleaner still feels weaker, is not cleaning easily, or still switches off abruptly, then it may need maintenance. Sometimes the sensors (like battery sensors in robot vacuums), hoses and belts can get faulty or break over time – and you’ll need help from an expert to replace these parts.
Also See: Cornflour for cleaning? 10 Surprising uses of cornflour to clean your home
Cornflour for cleaning? 10 surprising uses of cornflour to clean your home
